It’s all in the detail
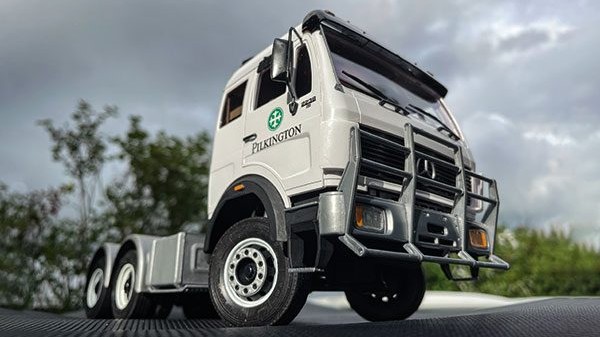
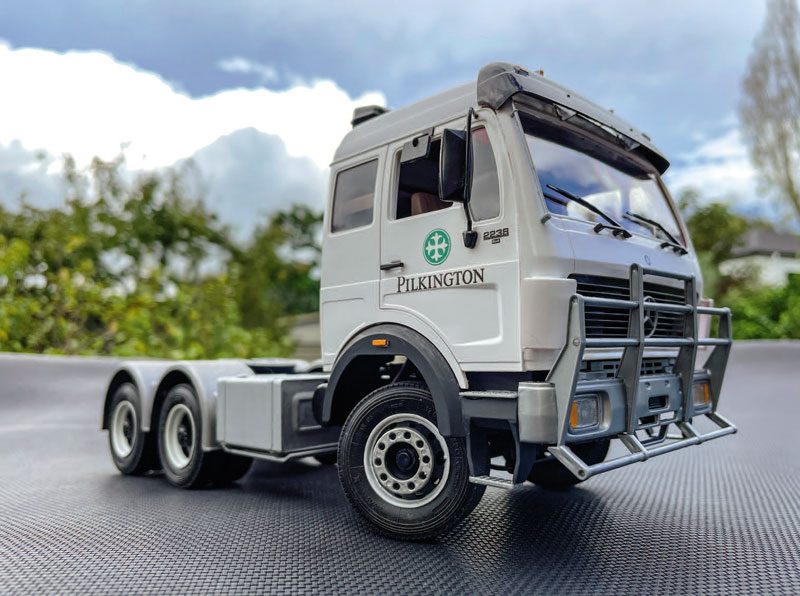
The little details bring our model to life as we hit the home straight on the Pilkington Glass Mercedes-Benz build.
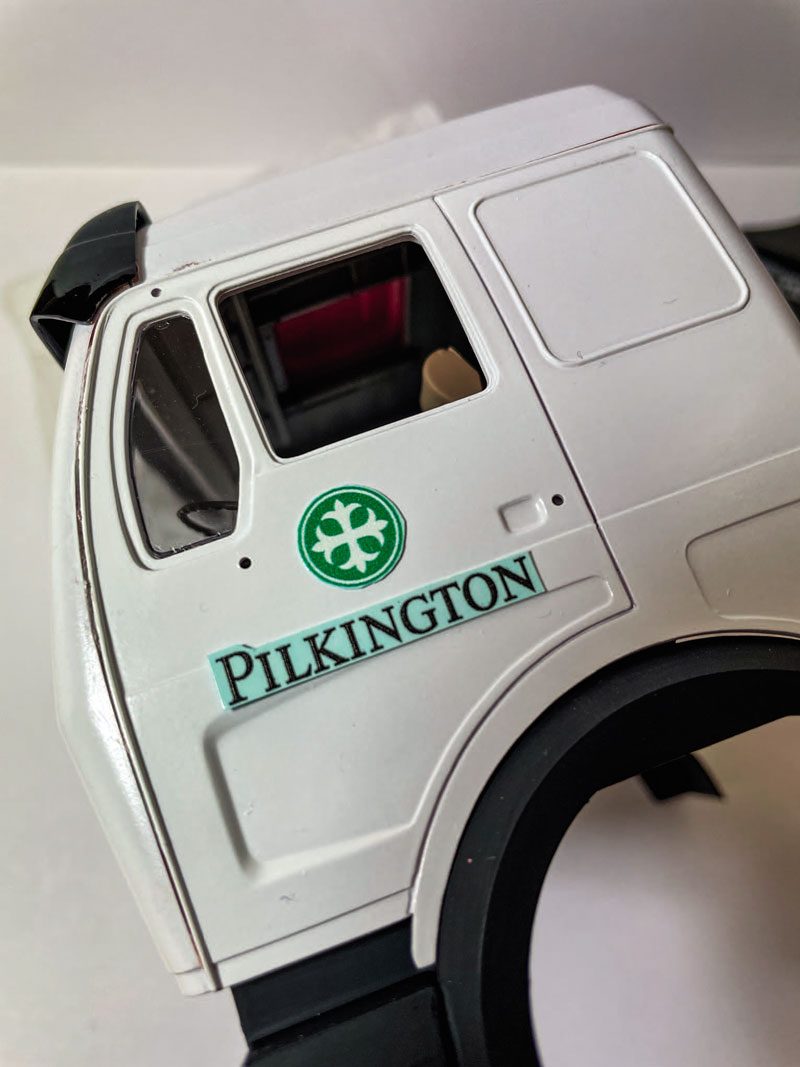
With both the chassis and cab structures of our prime mover now completed, it is finally time to add the finer details, which, piece by piece, complete our build and add the sense of realism. Our first task is to add the Pilkington Glass logo and signage to the cab. You can achieve this in two ways. The first is with a fine brush, steady hand and 20/20 vision – the old- school way of signage is a skill that many modellers have mastered over the years.
The second is to use technology and develop our own custom decals by having the signage and logos digitally printed onto transparent transfer paper. This system is becoming more readily available, and we will investigate how this process works in greater detail in an upcoming article. For now, the basic idea is that we use digital images found on the net that match what we require, then scale them for the correct fit and print to the transfer paper with an appropriate printer.
The reason we complete the sign-writing task first is one of accessibility. The cab is bare of all its accessories at this stage, giving uninterrupted access to the surfaces we need to apply the decals or signage. This, in turn, achieves a clean and accurate finish – decals require a delicate touch and not too much fussing about.
The first step is to cut out the required decals. For this, use scissors rather than a hobby knife – you will get a cleaner cut, as well as it being a safer option. Then, submerge the decals one at a time in a small bowl of warm water for about a minute until they have let go of the backing paper. The trick here is to remove the decal from the water as soon as it has broken free of the backing paper, as too long in the warm water will dissolve the glue, and the decal will not adhere properly to the model.
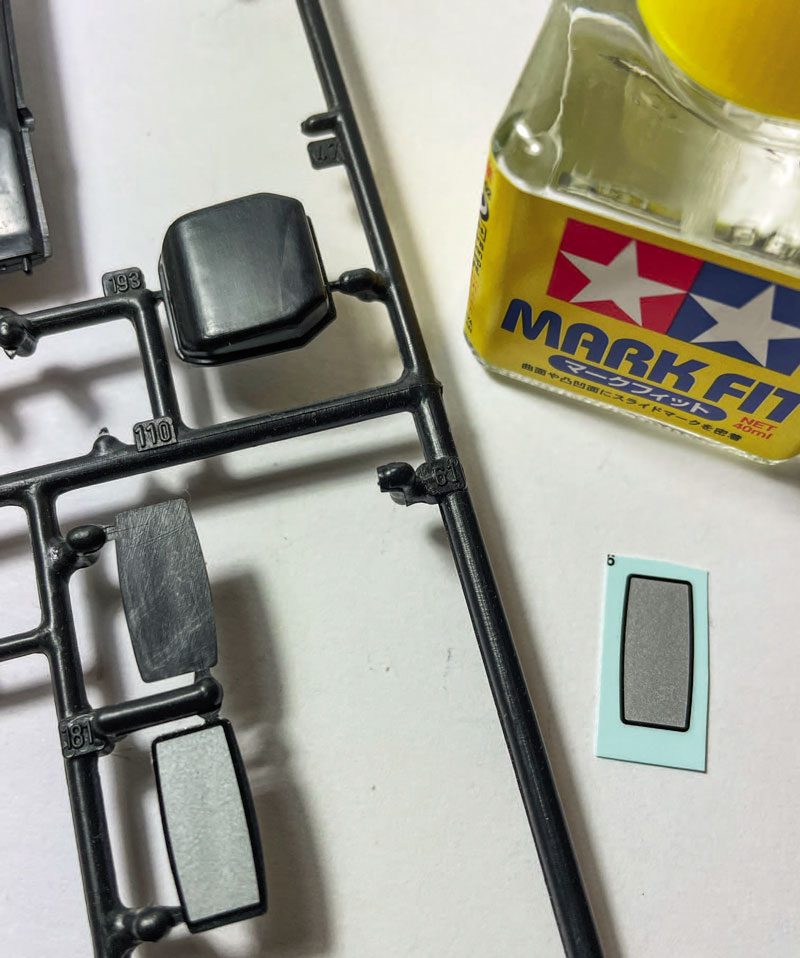
Once you have soaked the decal, place it, backing paper side down, alongside its resting location, and slide it off the backing paper and into place with a cotton bud. Products such as Tamiya Mark Fit can assist with the setting of the decals. Applied while the decal is still wet, these products help with positioning as well as fixing the decal in place while it dries. Once you are happy with its position, use a dry cotton bud or tissue paper to dab the decal dry, allowing it to attach itself more efficiently – just be careful that you don’t bump it out of place.
Another method – used for smaller decals – provides a more controlled activation option with less likelihood of damage as the glue is activated. After cutting out the decal, gently pinch the very edge with a pair of locking tweezers. Next, apply the Tamiya Mark Fit liberally to both faces with the product’s built-in brush. It will have the same activation effect as the decal being dipped into the warm water, and after some seconds, you will see the decal breaking away from the backing paper. This approach will afford you a more controlled activation and application as there is less risk of having to fish it out of the bowl of water folded in two and stuck to itself.
For the mirrors – parts 181B and 195B – you will find there are silver decals to represent the surface of the mirrors. To make life easy, attach these to the mirrors while they are still joined to the sprue. This will give you a handle of sorts to hold while attaching the decal.
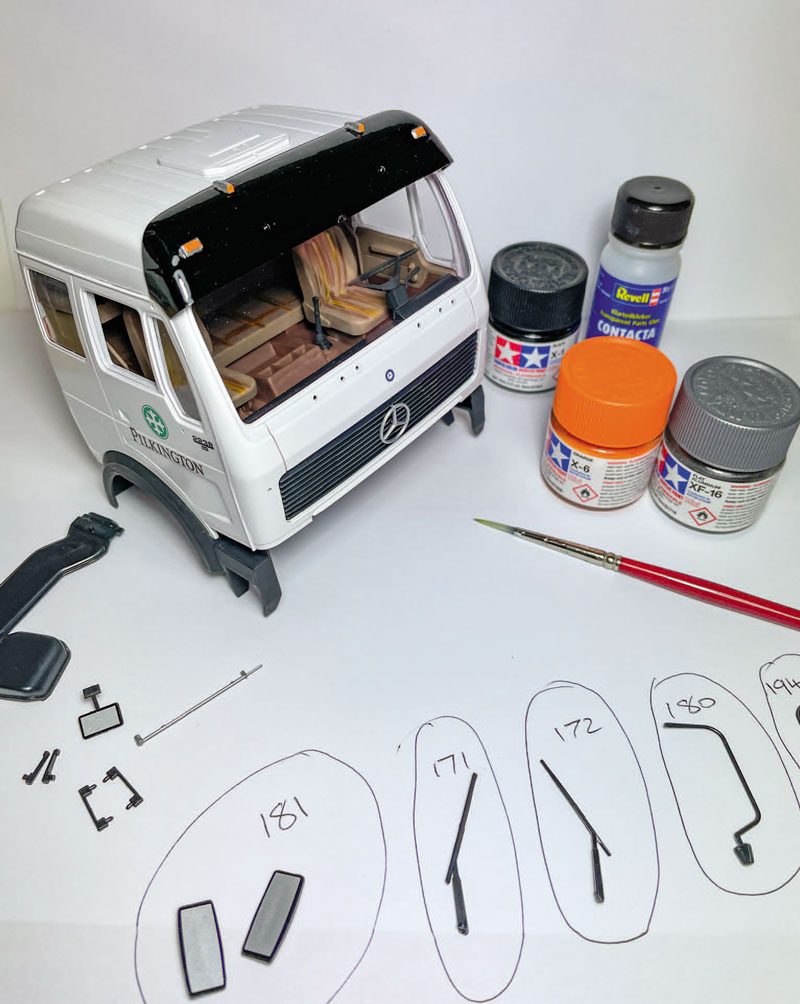
Now the fun really begins with the fitting of all the accessories and the bullbar to the model, as laid out in the final stage of the build – step 11. Once again, start by identifying the parts required. As you remove them from the sprue, lay out a sheet of paper to place the parts on (with their respective identification numbers). This will help save confusion further down the track. Working through step 11 sequentially one piece at a time is the way forward, and as shown on the instructions sheet, one side at a time. By working this way, you can lay the cab slightly over onto a soft cloth, which will provide a slightly flatter work surface and reduce the battle with gravity, with parts falling off before the glue has fully set.
Slow and steady here also wins the race. This is no time to start getting impatient. You are now working with the fine and fiddly parts, which will be obvious every time someone admires the model, so attention to detail is critical. To assist with the level of finish and your sanity, I highly recommend you use a water-based hobby glue such as Revell Contacta Clear. The reason is that water-based adhesives are extremely user- friendly on painted surfaces. Water-based adhesives bond directly, whereas solvent-based adhesives are very aggressive and physically weld/bond the two plastic surfaces together. The risk of a solvent-based adhesive attacking the painted surface, causing it to bubble and blister, is a real threat. It is sure to disappoint you, especially since so much effort and time has been invested into the build.

As the build nears completion, there are a few easy details that will add the icing to the cake, such as carefully detail-painting the cab-roof marker lights on the sun visor, as well as the indicator lenses on both of the mudguards – parts 174F. These little details will really help the model pop.
At the end of step 11, we find ourselves looking at our completed Pilkington Glass Mercedes-Benz model and patting ourselves on the back for a job well done. However, looking at our photographs from back in the day of Ken’s pride and joy, we see that there are a few important items not represented – mudflaps, spotlights and stone guard, not to mention full factory roof aero kit with matching side skirts. Yes, this month brings to an end the out-of-the-box stock-standard build of the Mercedes-Benz. Next month, we will continue the journey and look at ways to manufacture and add these items to take our model to the next level of realism.


