Heavy engineering in plastic

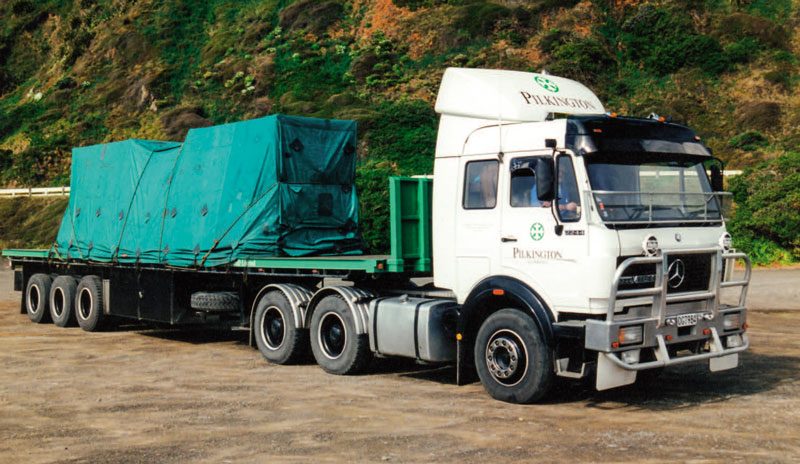
Our Ken Kirk/Pilkington Glass Mercedes-Benz project has been a mostly straight-out-of-the-box build. This month, we get a bit adventurous and break out the sharp hobby knife and some Evergreen sheet plastic and start scratch-building.
In the movie Back to the Future, Doc Emmett Brown says, “Roads? Where we’re going, we don’t need roads.” This month, we say, “Instructions? What we are building, we don’t need instructions.”
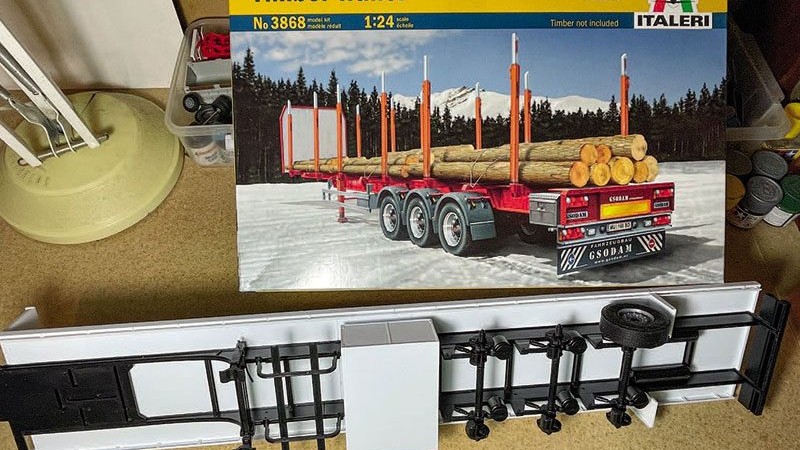
It is now time to design and scratch-build the flat deck and accessories upon the chassis frame and suspension we built last month. The first step is to measure and cut out the deck surface. Evergreen 2mm plain sheet plastic is a solid option. This gauge will give the trailer rigidity, preventing distortion in the future.
Working out the correct measurements for our build requires some straightforward calculations. For example, we know the overall permitted width on New Zealand’s roads is 2550mm, and we are building in 1:24th scale. Divide 2550mm by 24, and we get 106.25mm. This means our overall build width for the trailer is 106mm, give or take 0.25mm.

So, let’s cut our sheet plastic into 100mm strips, as we will add 3mm to each side by fitting combing rails to get the 106mm total width we are after. We know the trailer was a typical 43ft tri- set semi, so we apply the same calculation. The only difference is we first need to convert the 43ft imperial measurement to metric. This is easily done using an online ‘ft to m’ conversion application. Entering the 43ft measurement, we get a conversion of 13,106mm. Divide this by 24 and get an overall length measurement of 546mm.
Using the 100mm strips of 2mm sheet plastic, lay out the required pieces on a flat surface to obtain the 546mm length. Making sure that the pieces are straight and true, we overlay the assembled chassis carefully onto the sheet plastic while ensuring that it sits evenly distanced from both sides and parallel. Once in the correct position, glue the chassis to the sheet plastic and allow it to dry for 24 hours.
Now that we have the superstructure of the trailer complete, we can concentrate on the finishing touches, such as combing rails, tie rails, tool lockers and mudguards. There are no instruction sheets for this – we are simply doing the best we can to replicate the trailer by looking at the three photos we have of it. From these images, we can see that there will be a lot of guesstimation required, as well as heavy use of the eye- ometer.
There is no right or wrong way to scratch-build, so do not hold back – this is the fun part about scratch-building. It is completely up to your imagination, so get stuck into it and have fun creating a one-off model that is exclusively yours.
Next month, we are on the home straight. We paint, detail and finish the construction of our trailer, as well as construct a tarped load to sit on its back – just like the real rig would have had for its maiden voyage.

CHARITY FUND RAISER
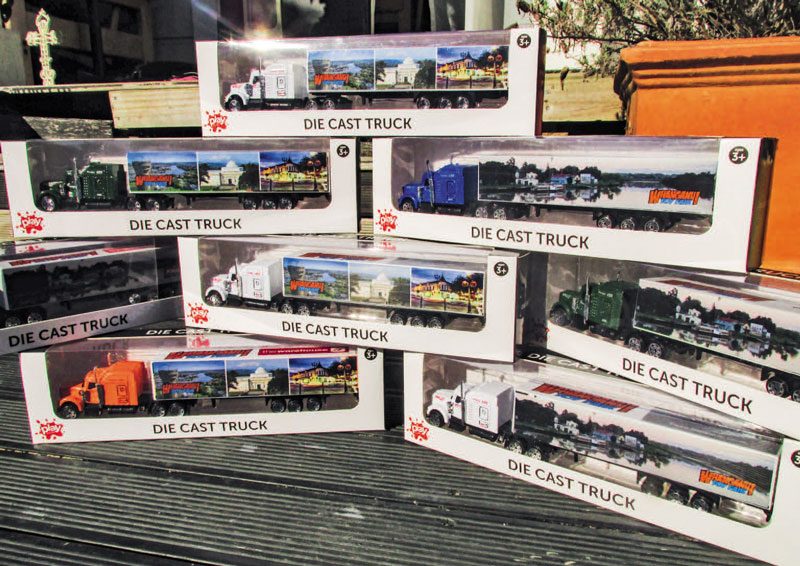
Although organised in the middle of a pandemic, the inaugural Whanganui Toy Fair went off without a hitch. It wasn’t the greatest timing, but organiser Steve Brown realised many events to raise funds for local charities had been cancelled, meaning that they were missing out on funding. He decided to organise an event, Model Trucks as a Souvenir, to help out and raise money. With the support of a couple of local businesses, the venture cost $1200 but raised $3000 for the chosen charity.
The trucks are based on the conventional Kenworth Aerodyne at 1:87 scale. There are five different-colour tractor units; blue, green, orange, red and white. The trailers have stickers with scenes of Whanganui on their sides and acknowledgement of the supporting businesses on the top to create three different liveries.
The trucks sell for $10 each, with the full $10 going to charity. If you would like one or more of these trucks, contact: whanganuitoyfair@ gmail.com


