40th Anniversary Project Torquing Bulldog Stage 7 – Completing the Kiwi-fication
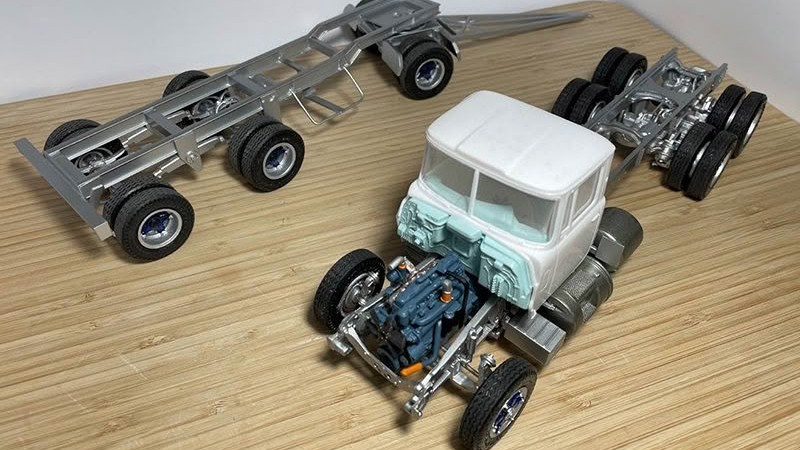
This month, we continue the trailer build for Torquing Bulldog, adding the typical Kiwi details before we apply the paint. We also delve into the right-hand drive conversion of the cab and interior to align the build with its New Zealand roots.
As we draw the construction of the trailer chassis to a close before it receives its application of paint, we add the final details that were found on Torquing Bulldog, some of which were specific to the era that Torquing Bulldog plied the highways of New Zealand.
The first of these is the spare-wheel rack, something that has, for the most part, been retired these days for the convenience of the 0800 call to your nearest tyre man. The other important detail to add at this stage is the airline plumbing out to the brake pots. As much as it is a fiddle to fit these lines, the result will add to the sense of realism, especially on an open-frame chassis trailer like this.
Next on the list is the construction of the front and rear quarter guards for the front dolly of the trailer. Using sheet styrene plastic from Evergreen, measure and cut out the basic shapes. You can replicate the folded edge by cutting thin strips and gluing these to the edge of the basic guard forms. Gently file into shape after these have dried thoroughly and set. Once you are happy with their appearance, glue into place on the dolly.
With these boxes now ticked, we can move on to paint and assembly. We could just paint the silver top coat directly to the white plastic. However, I do recommend applying a primer base coat first. It assists with setting up a solid connection for the paint to the plastic, as well as covering blemishes.
Once the wheels have also been painted, you can fit the tyres, but remember the sandpaper trick first. This will remove the moulding seam and add that slightly worn look to the tread before you fit them to the rims.
Now that both the truck and trailer chassis are completed, we can begin the process of assembling the cab and its interior. As we are aware, the kitset has been manufactured as a left-hand drive, and of course this needs to be addressed, as our handlebars are on the opposite side of the cab. If we were dealing with a square cabover, it would be reasonably straightforward to modify it ourselves. However, we are faced with the curves of a bonneted R-model Mack that also has a firewall. With this in mind, it’s best to not mess about; an order with our mates across the ditch at Auslowe provides the solution. Auslowe has gone to the trouble of casting a RHD firewall and dashboard conversion kit. The fit we have come to expect is superb, and most definitely takes the sweat and tears out of the procedure. With these parts in place, now we can assemble the rest of the interior and move this on through to paint as well. Things are taking shape, still a ways to go, but the build is moving along nicely now.
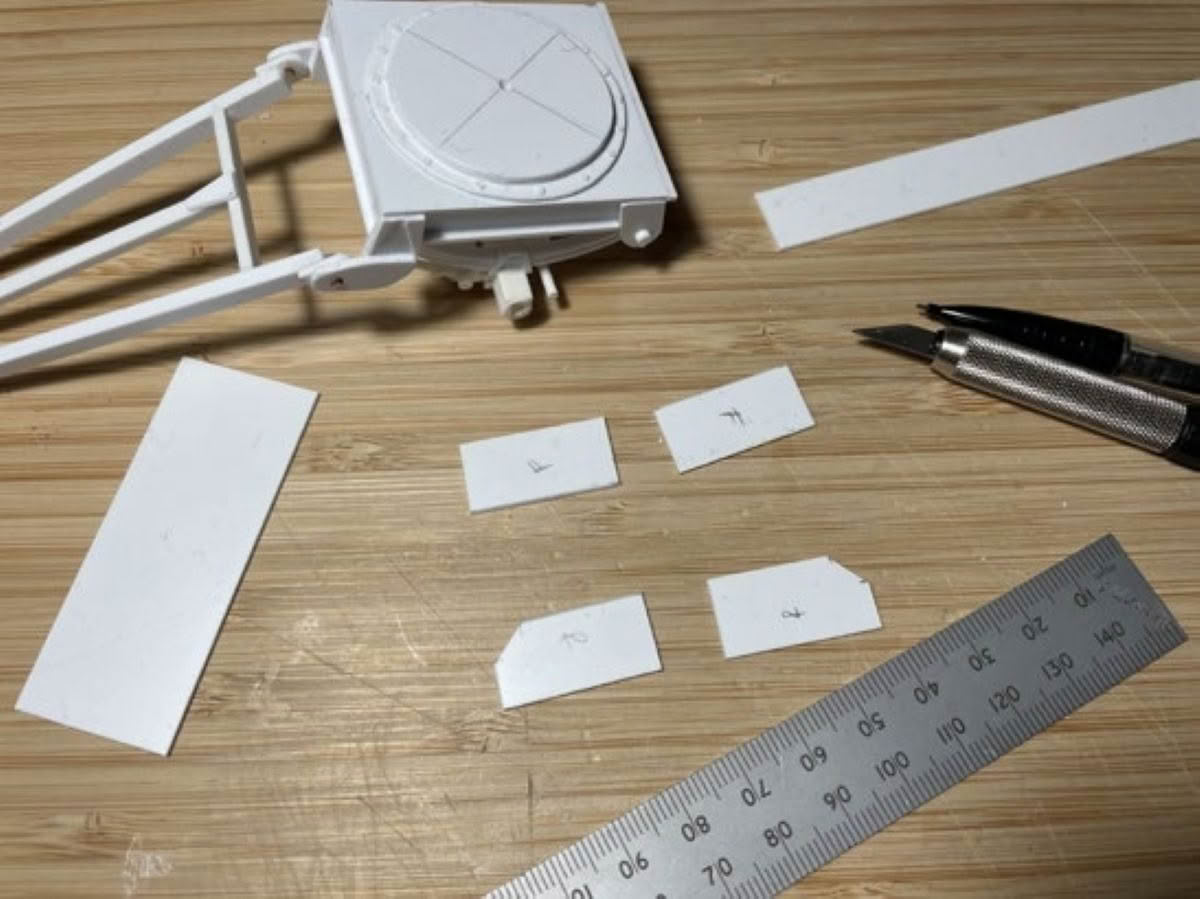
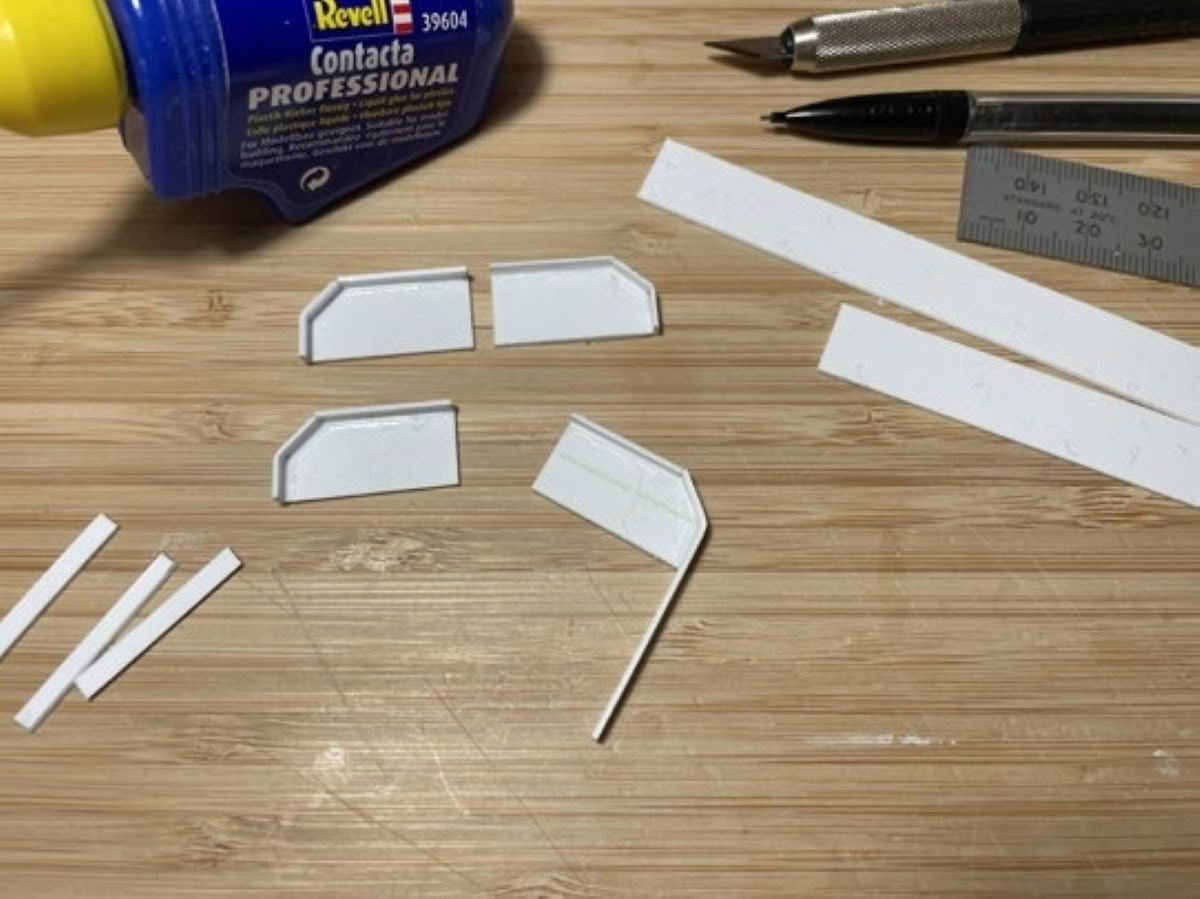
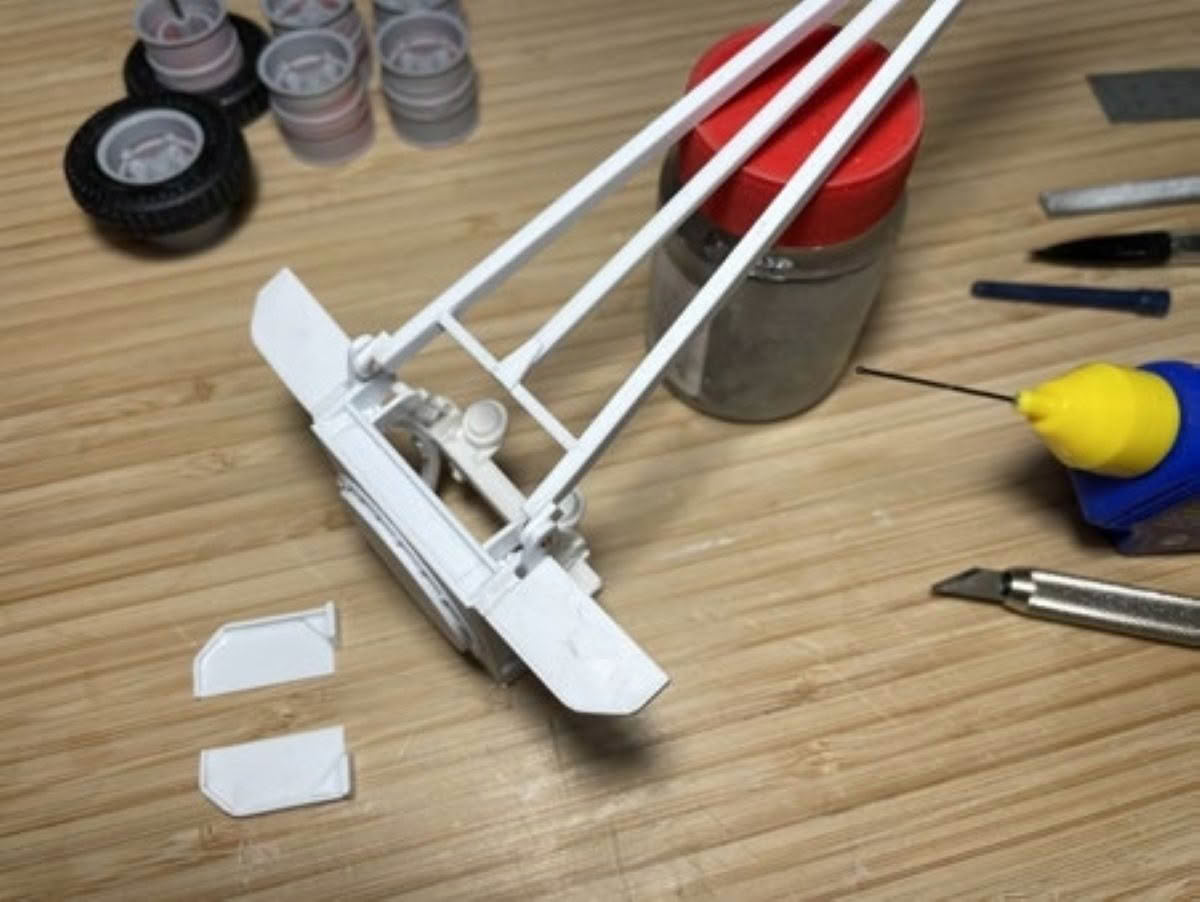
Forming the quarter guards is as easy as cutting the required pieces from sheet styrene plastic from Evergreen, including the strips required to replicate the folded edges. Remember, one piece at a time is the way forward.
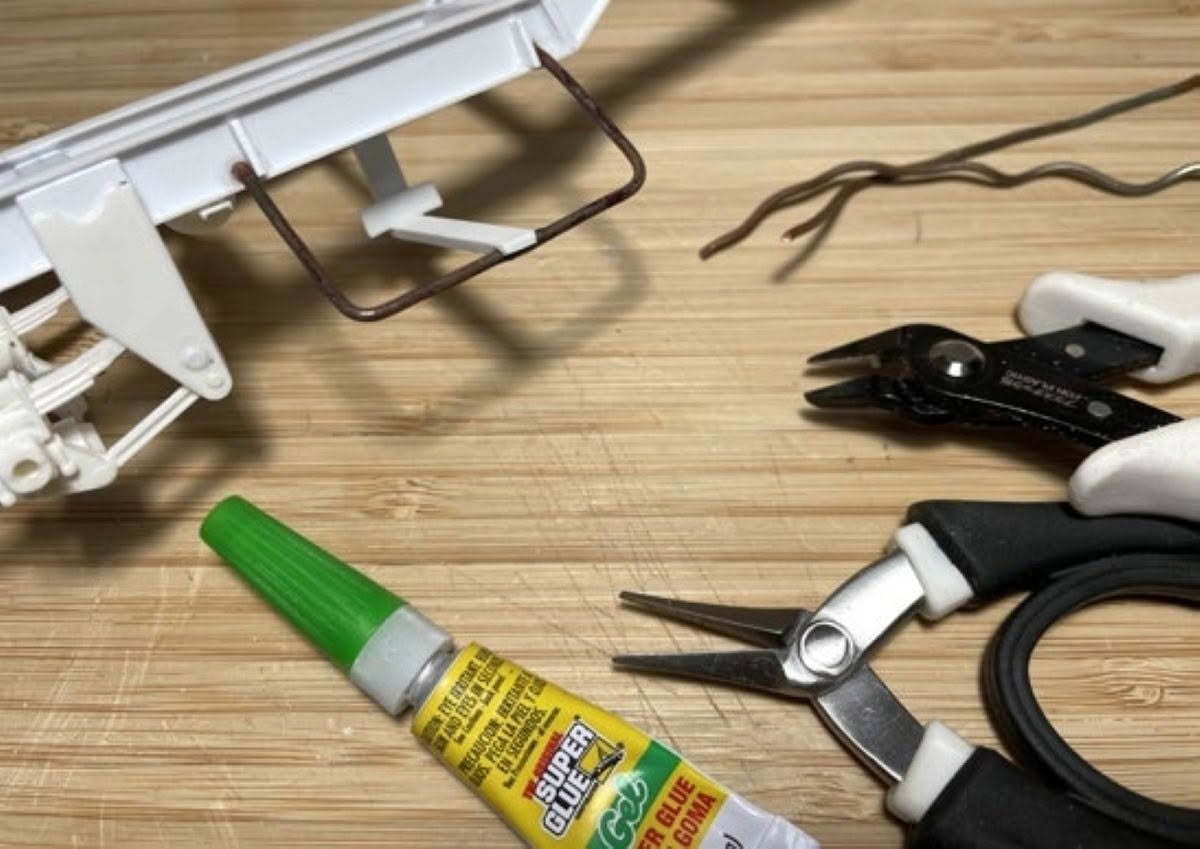
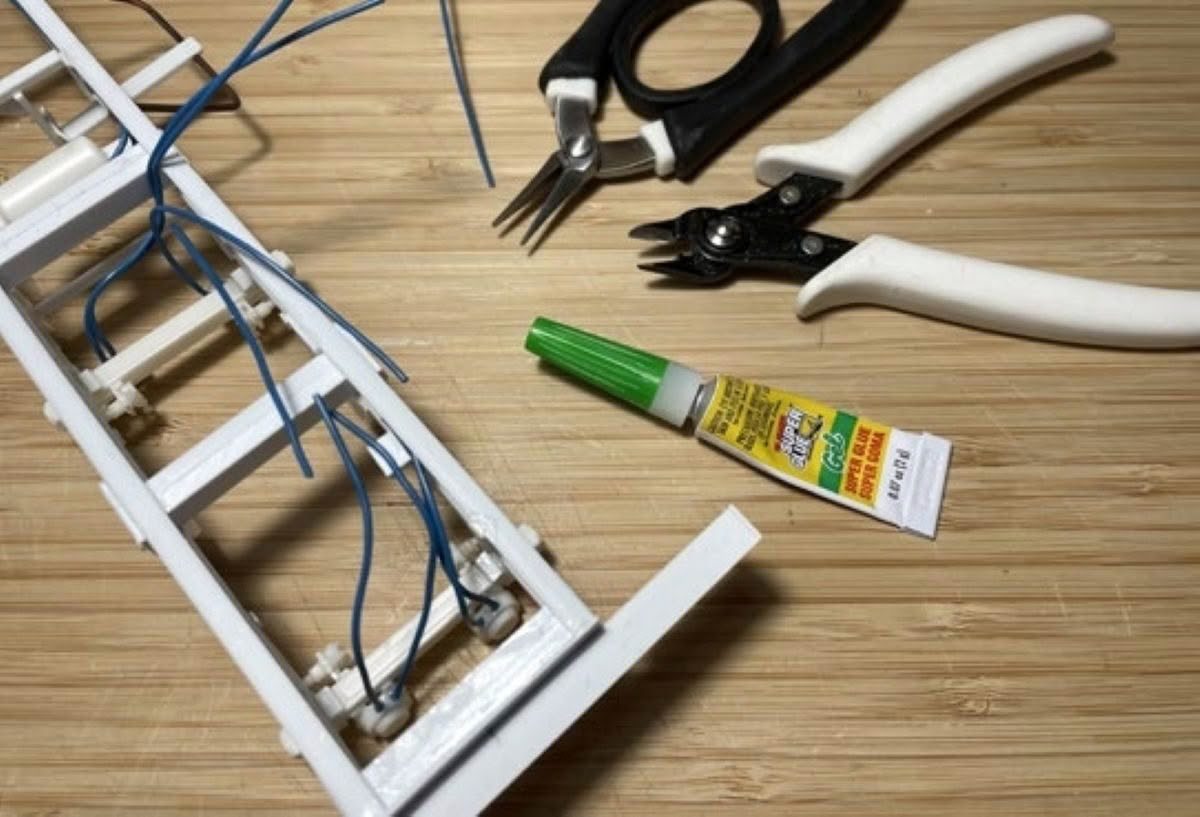
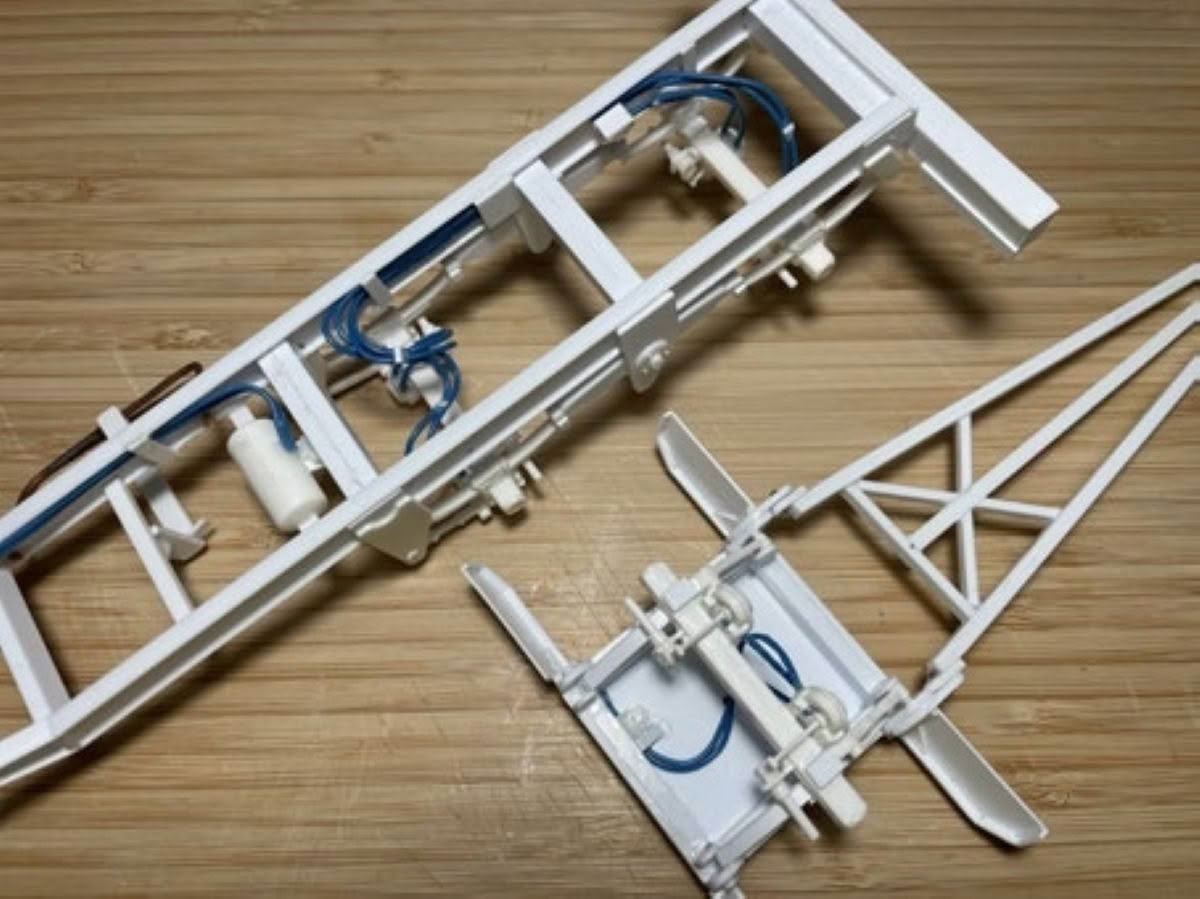
Now adding the finer details before paint is applied. Airlines to the brake pots, as well as the spare tyre rack, a feature from a time before toll-free 0800 numbers to the local tyre man.
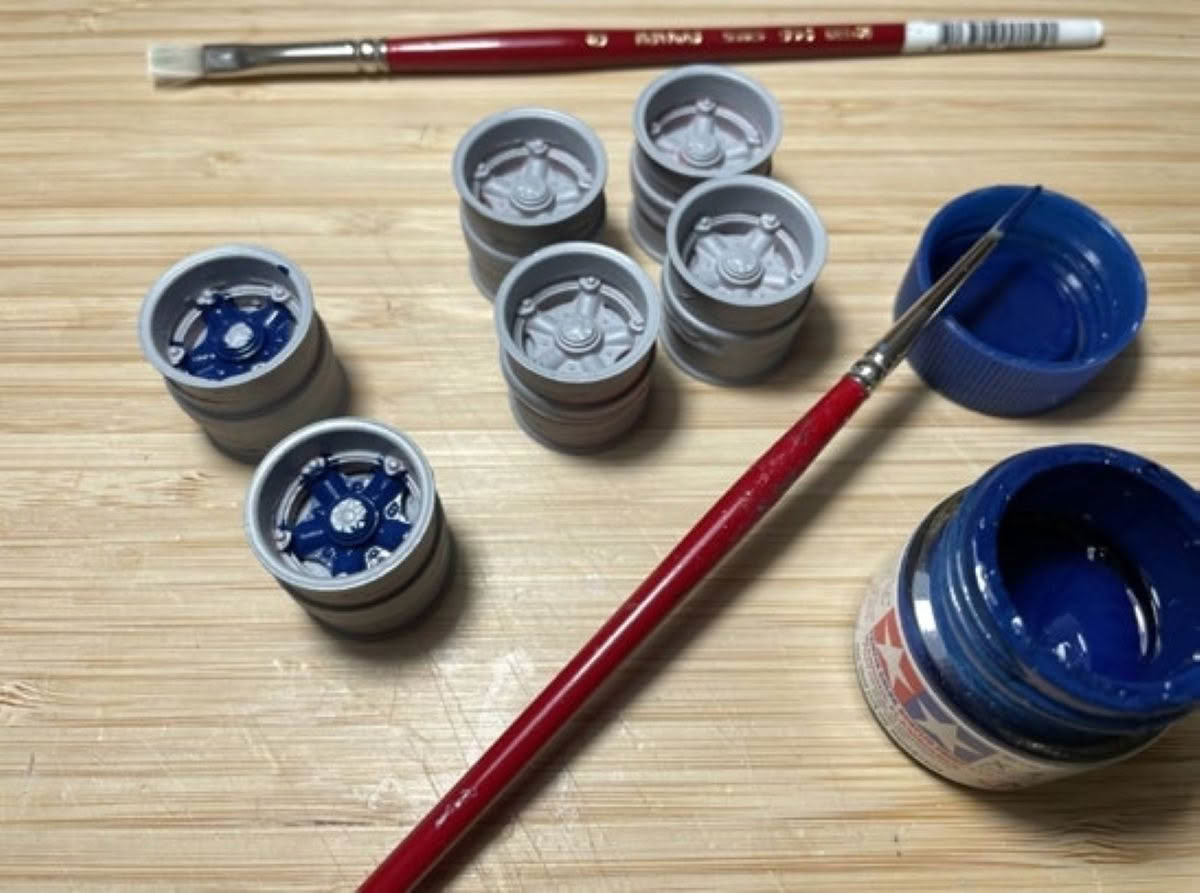
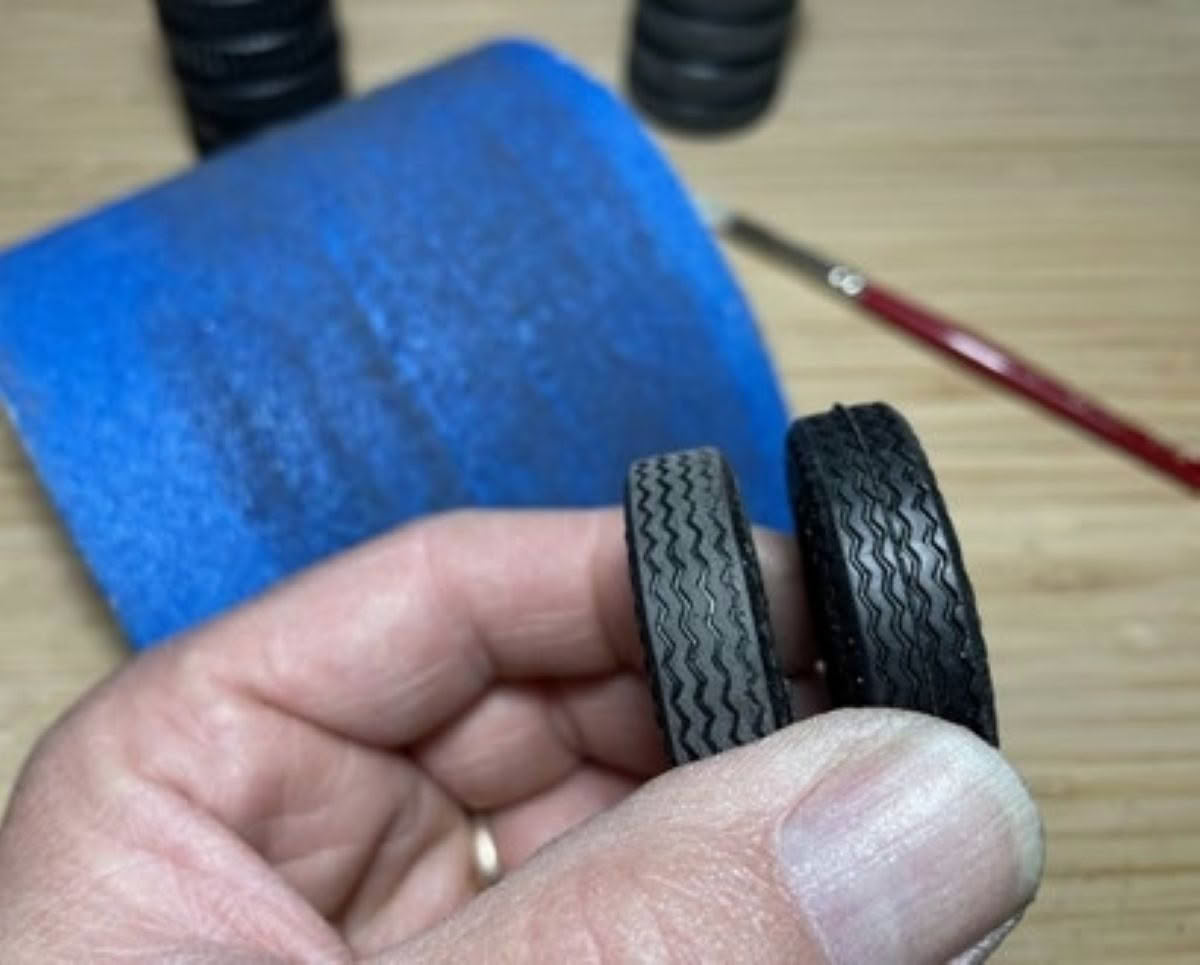
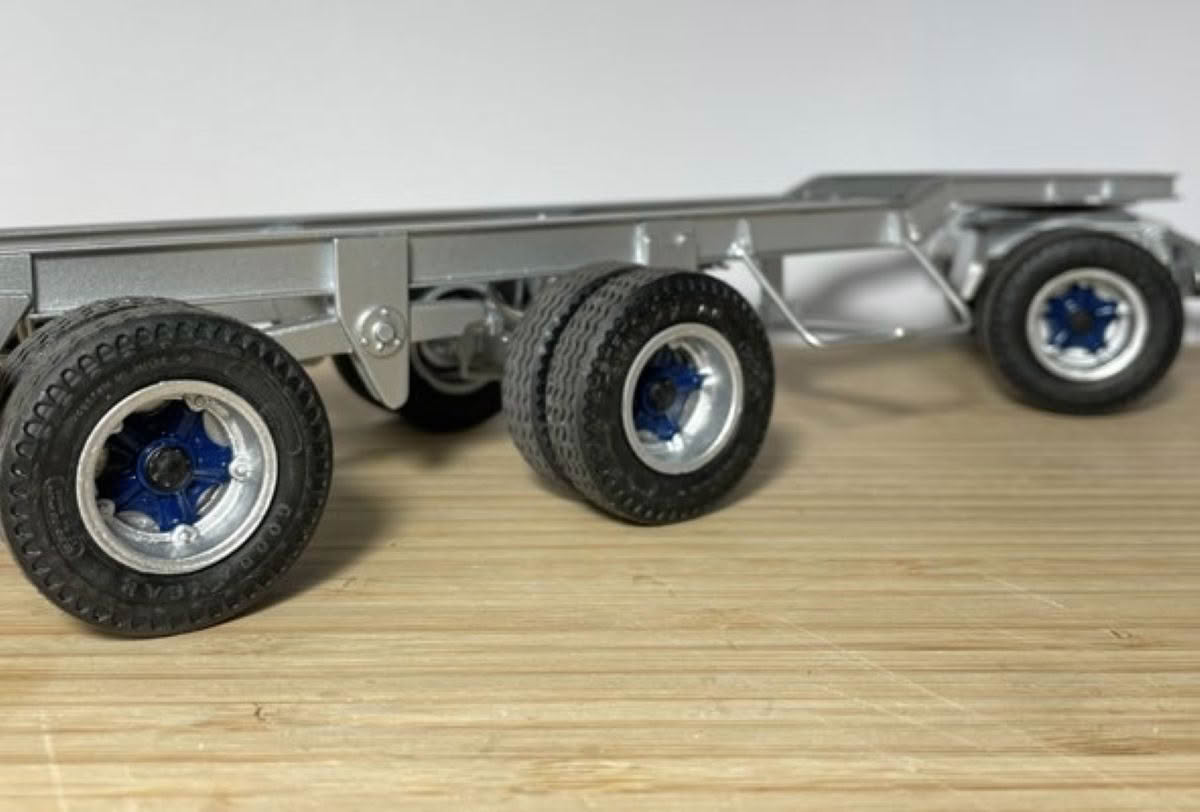
The wheels receiving their top coats of paint, over the top of a primer base coat. Don’t forget the sandpaper trick to give the tyres that slightly worn look, adding to the sense of realism.
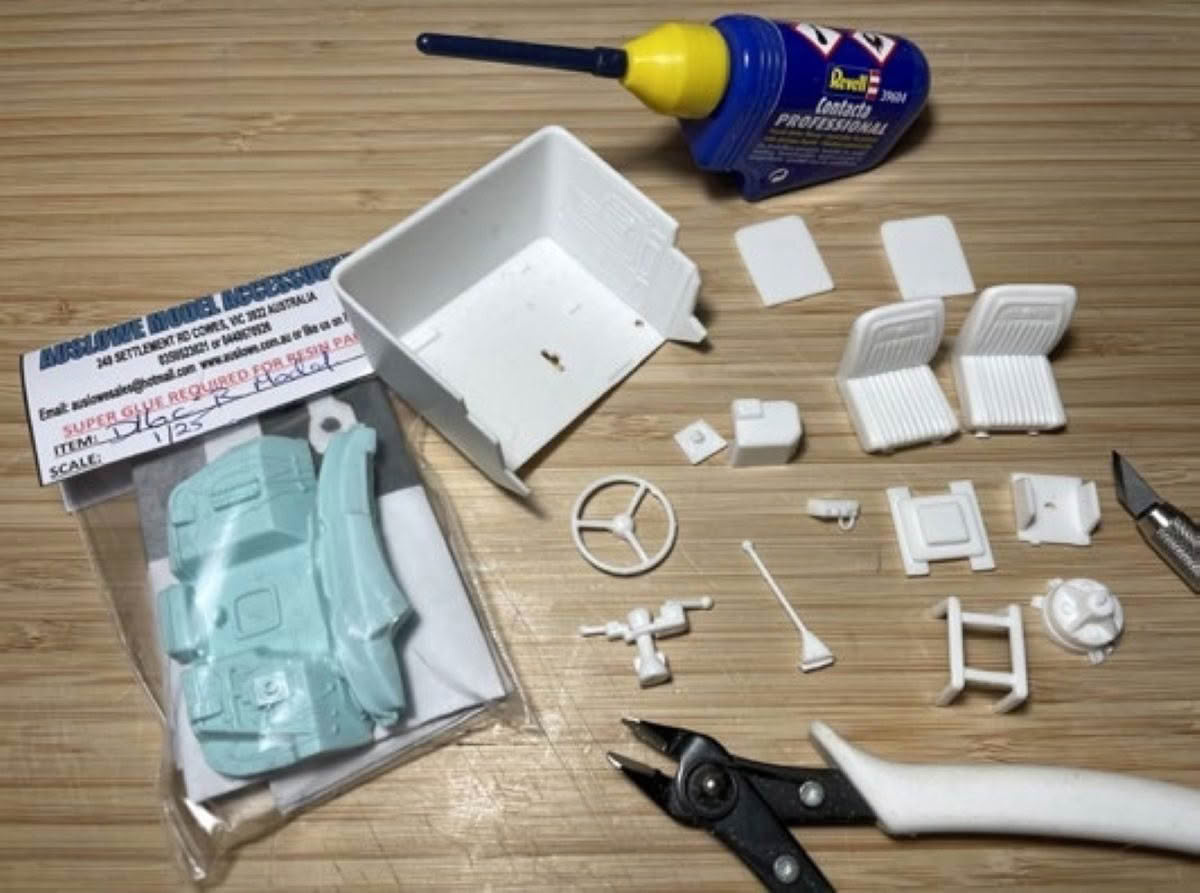
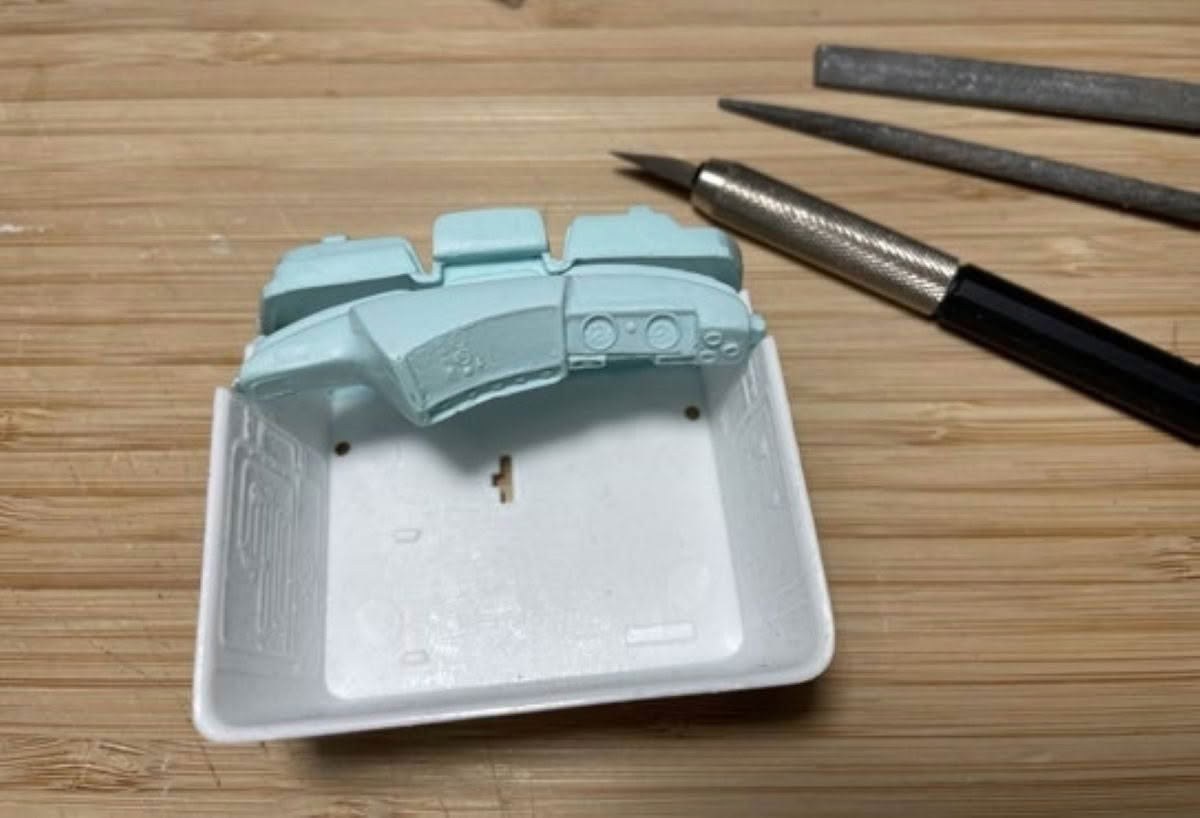
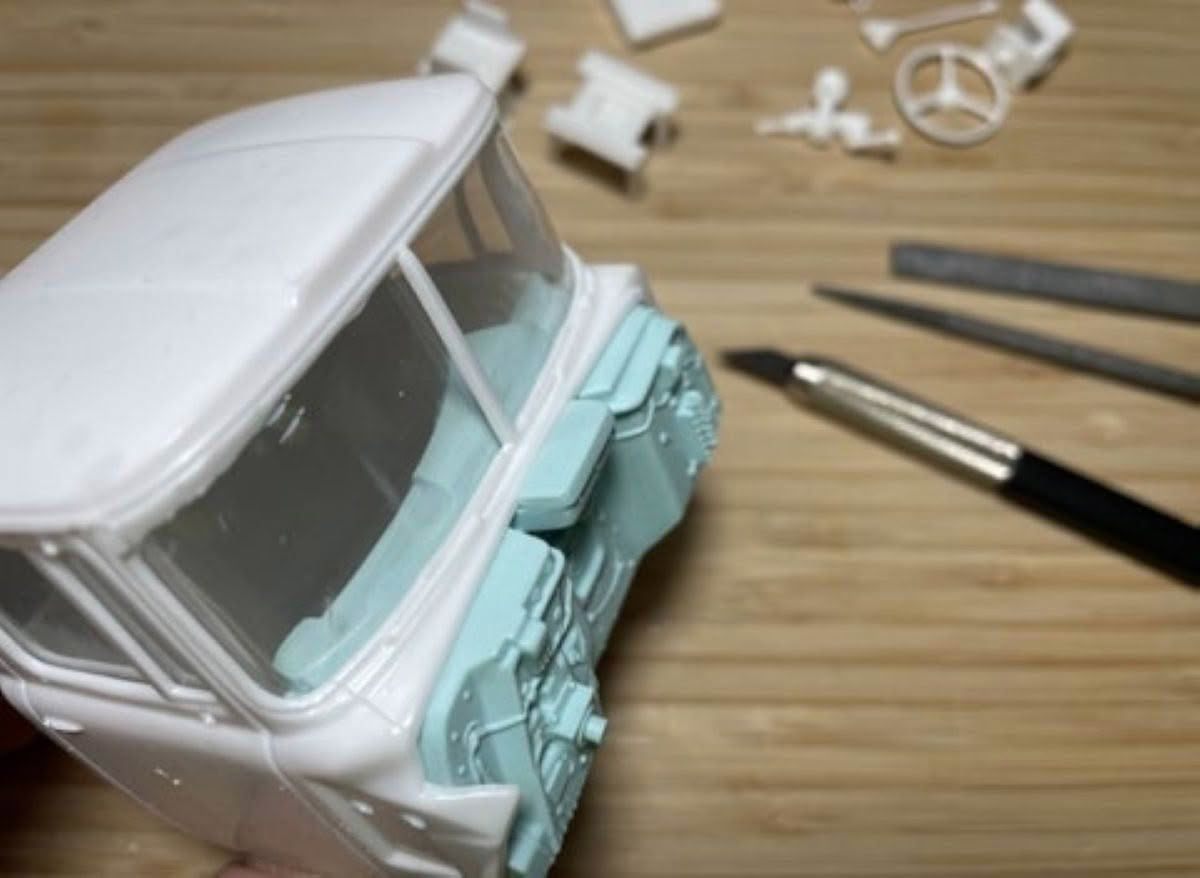
The right-hand drive conversion of an R-model Mack with all its curves would normally be rather daunting. However, a fantastic conversion kit with a resin cast RHD dashboard and firewall is available from our good mates across the ditch at Auslowe, and the fit and finish is absolutely superb.
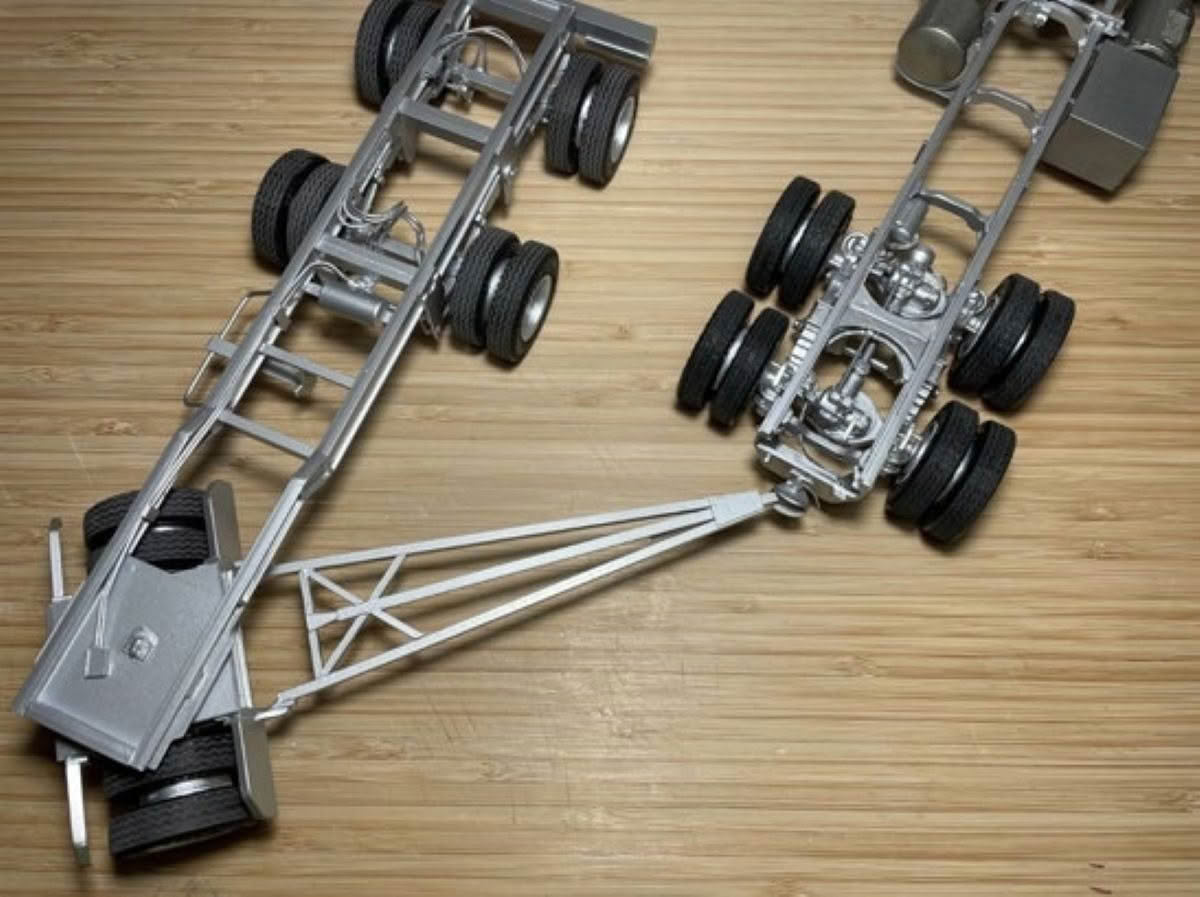
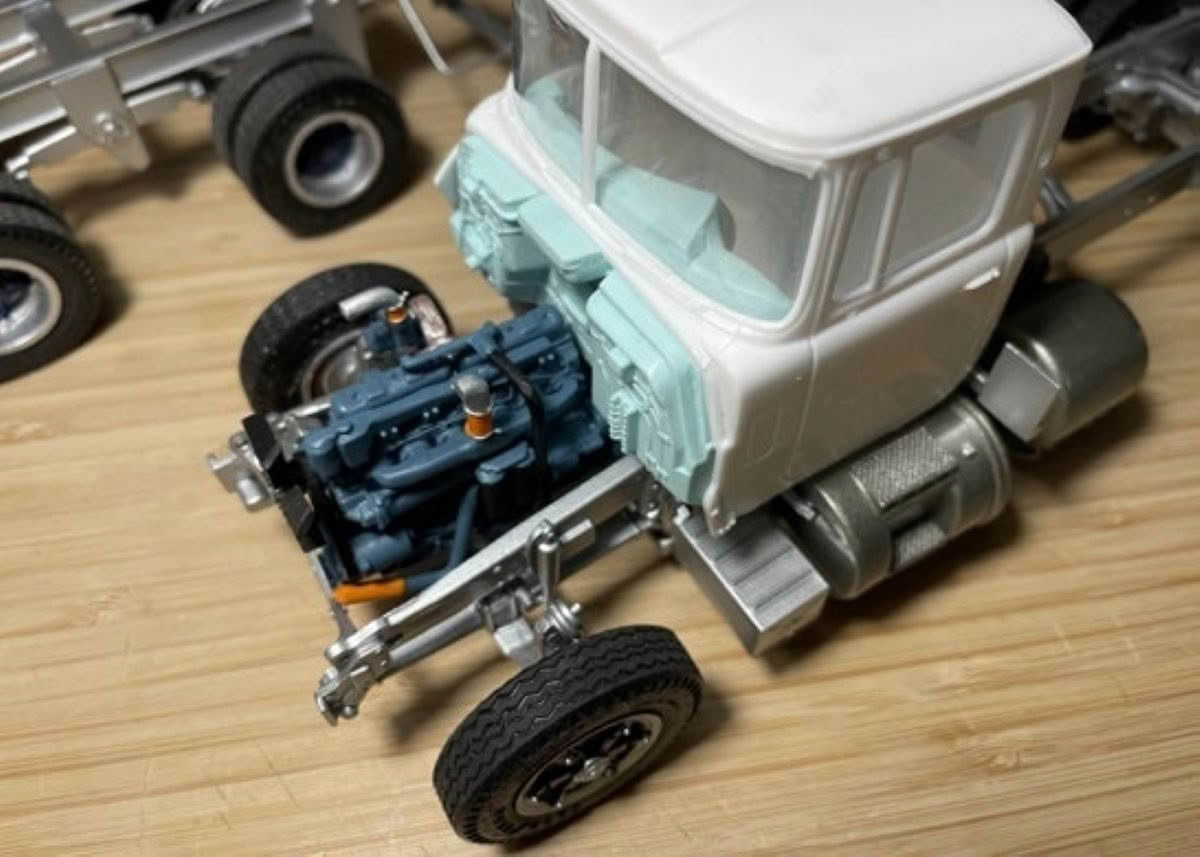
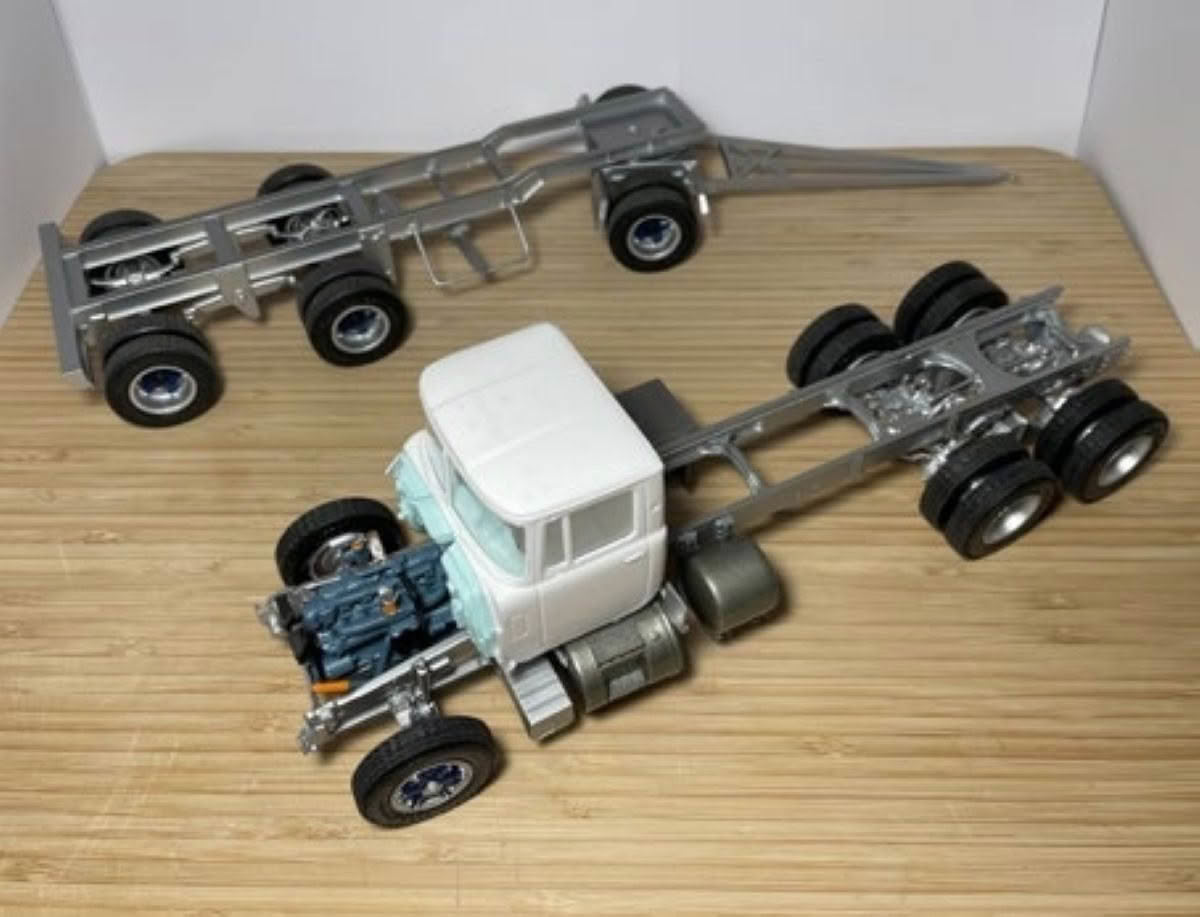
The build is taking shape; still a ways to go, but definitely heading in the right direction.


