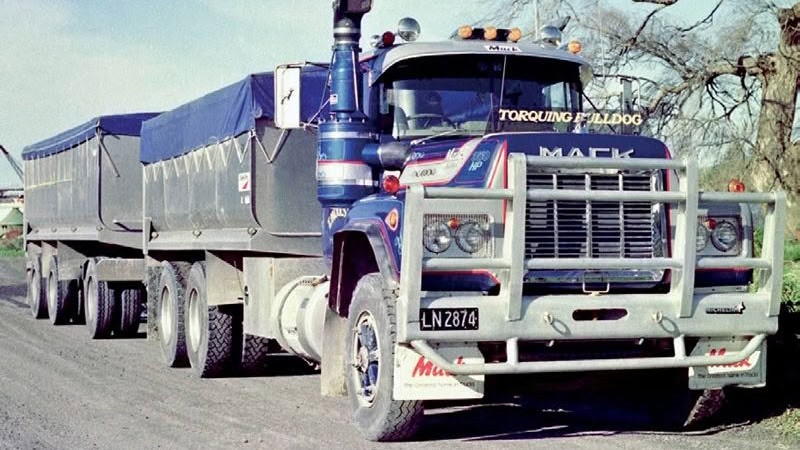
40th Anniversary Project – Torquing Bulldog Stage 6 – One piece at a time

This month we jump right back into our Torquing Bulldog project, picking up from where we left off with the scratch building of our three- axle 1.8m spread spaced tandem tipper trailer.
The art of building a kitset model truck straight out of the box is rewarding, however taking the next step and modifying the build to your own specification and scratch- building the truck body as well as the trailer is a whole other level of satisfaction.
I have been asked many times ‘where do you start a scratch-building project?’ The answer is simple, with just one piece at a time. There is no magic or rocket science behind scratch-building a model; it really is as simple as grabbing a piece of plastic and having a go.
As we have mentioned in the past, doing your homework before you kick off is critical to get the best results. Obtaining photos of the subject matter, as well as accurate drawings and measurements, is paramount for an accurate representation. Just like the set of instructions that you find inside the kitset box, the information held within the drawings and photos becomes your roadmap on how to go about building the actual item.
With this in mind, a massive thank you must go to good friend and model truck building extraordinaire Gordon O’Riley. His own hand-drawn blueprints, as well as the photos he has provided as reference for the project, are absolute gold, and truly appreciated. Without them it would have been a long hard road.
With our chassis rails for the trailer started, we now pick up the build by completing the rails, manufacturing the crossmembers and assembling them together to form the backbone of this build. Once this has solidly set, we can move on to the addition of suspension and axle sets, including details like brake pots.
Taking advantage of recent settled weather, we have also ventured outside with the chassis, tanks and toolbox components of the Mack, and have applied finishing top coats of paint. Now that these items are complete, we can also begin final assembly of these parts. This is always a rewarding stage of any build, as you begin to see the finished product forming.

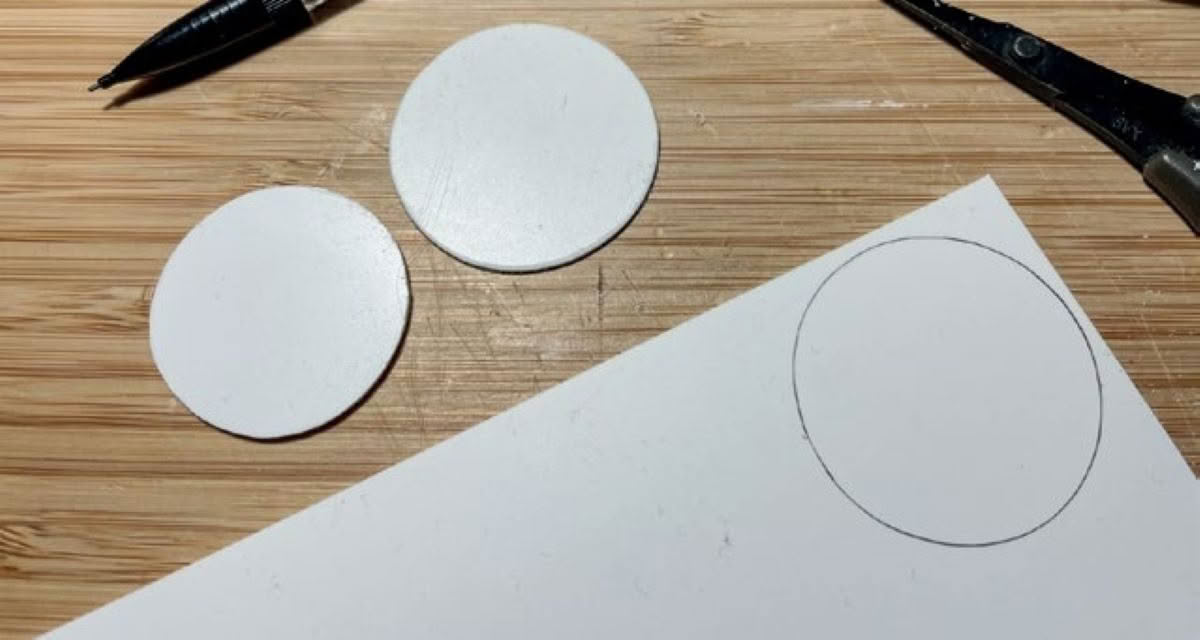
The ballrace turntable: I have cut two discs from 1mm sheet to form the top and bottom of the ballrace, and then one slightly smaller diameter disc from 2mm sheet to form the centre of the ballrace.
Using our blueprint, we can manufacture a drawbar for the dolly to the correct length. For strength I have used 4.5mm square extruded styrene plastic rails from Evergreen to construct this. Forming a tow eye was done by simply bending 2mm solid copper wire into shape and filing it down to size so that it would fit the eye of the Ringfeder coupling. Drilling a small hole into the end of the drawbar and using superglue makes for a solid connection of the copper tow eye to the plastic of the draw bar


