
40th anniversary project Torquing Bulldog Stage 8 – Identity coming to life

One month out from the big reveal, our Torquing Bulldog project has turned the corner and is heading for home. With its livery taking shape as paint is applied and final assembly begins, we can now see light at the end of the tunnel.
As we start spraying the final coats of paint this month, we begin to enjoy the fruits of our labour, seeing the model come to life. Looking at an old photograph of a truck will revive memories. However, when you construct a three-dimensional scale model of that truck, the memory jogging literally goes stratospheric.
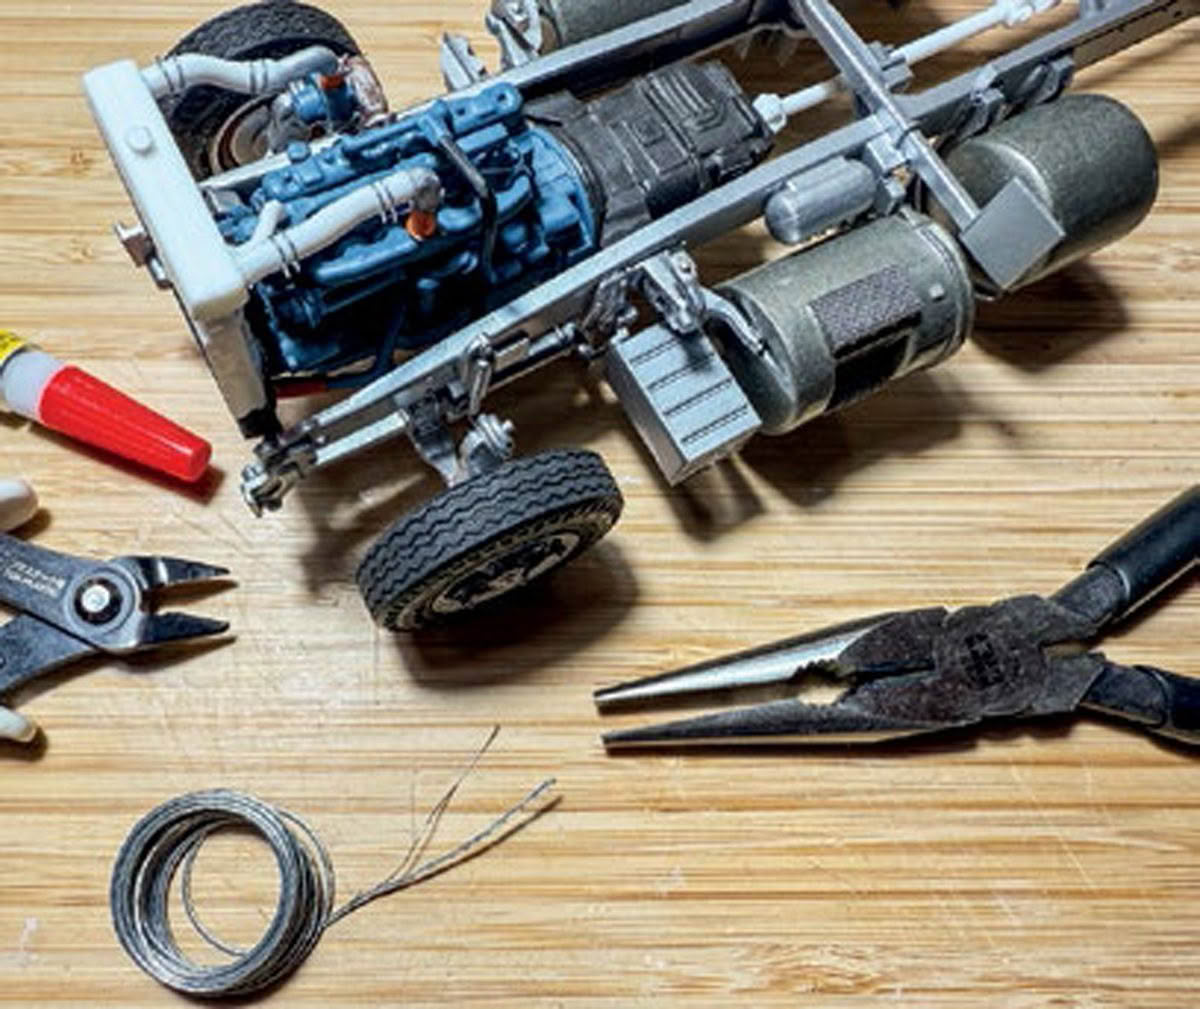
Before we get to the paint, there are a few things on our list to address. First, we need to assemble our Auslowe-supplied Donaldson air cleaner, complete with pre-cleaner and air ram. Torquing Bulldog had a unique look with its pre-cleaner arrangement, so replicating this is critical to the overall look of the finished model. Yes, you could scratch-build this out of plastic, but the Auslowe team has done a beautiful job of manufacturing this item, and the level of detail is superb, right down to the chrome mounting straps.
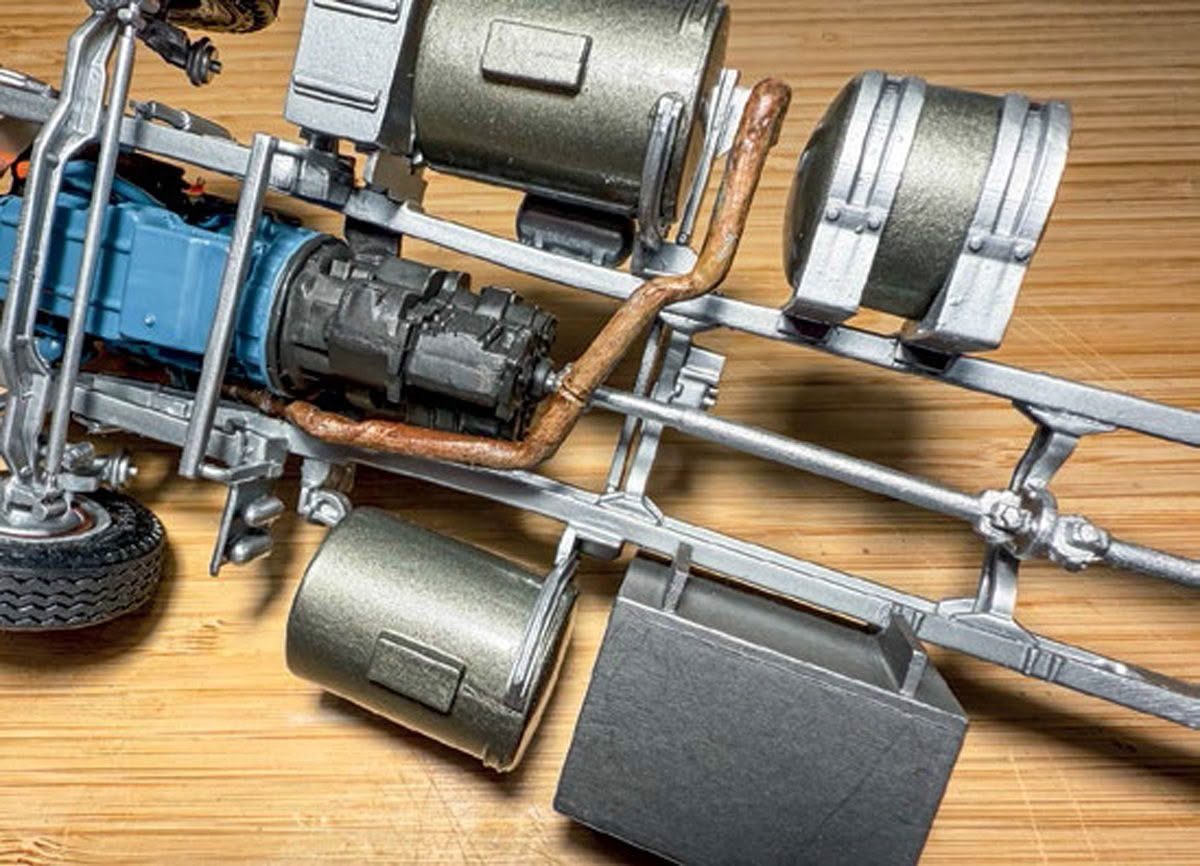
Next, we need to complete the driveline from the gearbox to the front diff. Because we have lengthened the chassis from tractor unit to rigid tipper, we naturally need to now extend the drive shaft. As a tractor unit, a single driveshaft can cover the distance, however the extra length of a tipper chassis requires two driveshafts, and these are connected at the centre with the use of a centre support bearing. We can easily make this bearing out of sheet plastic, and glue it to the crossmember closest to the centre of the gap between the gearbox and front diff. Next, shorten the supplied driveshaft to fit the gap between the gearbox and centre support bearing, and glue in place. For the second driveshaft I was able to scavenge one from the spare parts bin, and shortened it as required to fit the gap. You could just as easily construct the driveshaft from a piece of plastic rod, with small cuttings of box section plastic at each end as the universal joints.
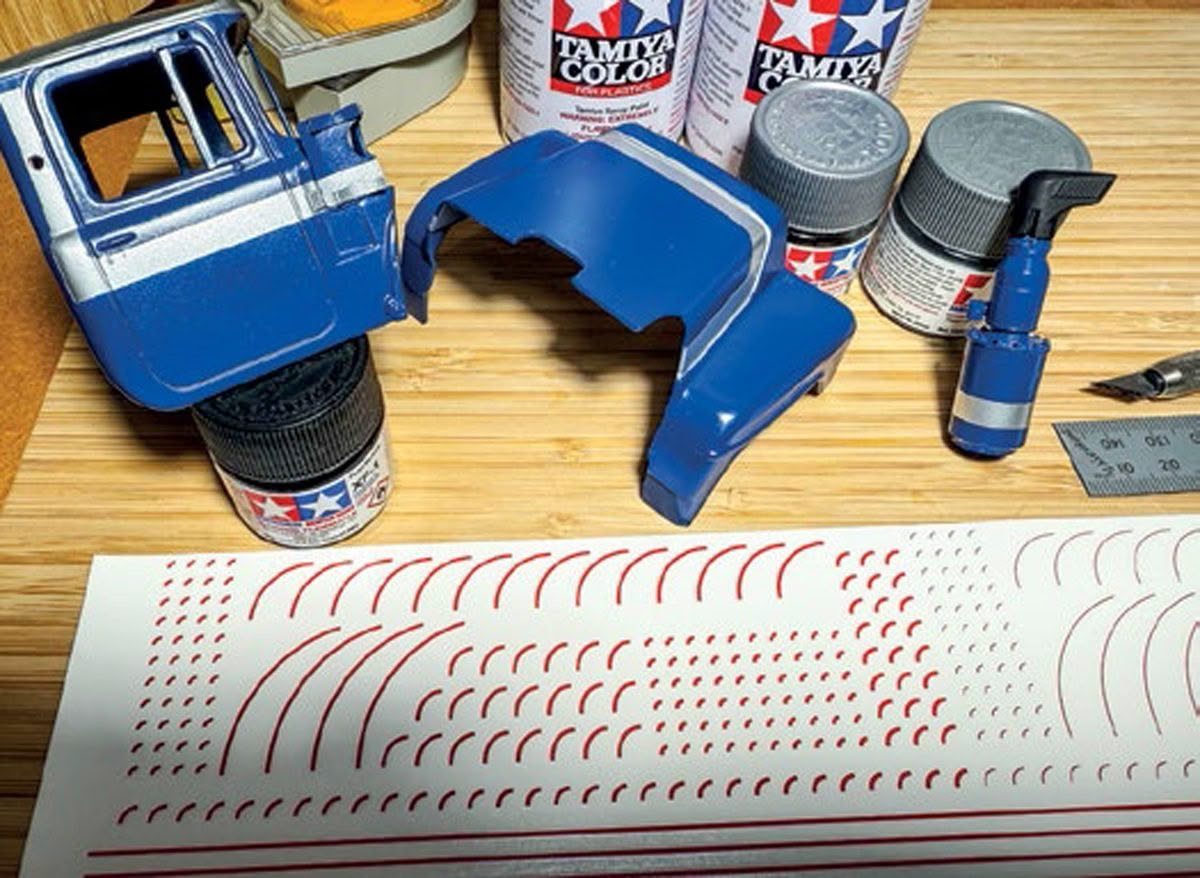
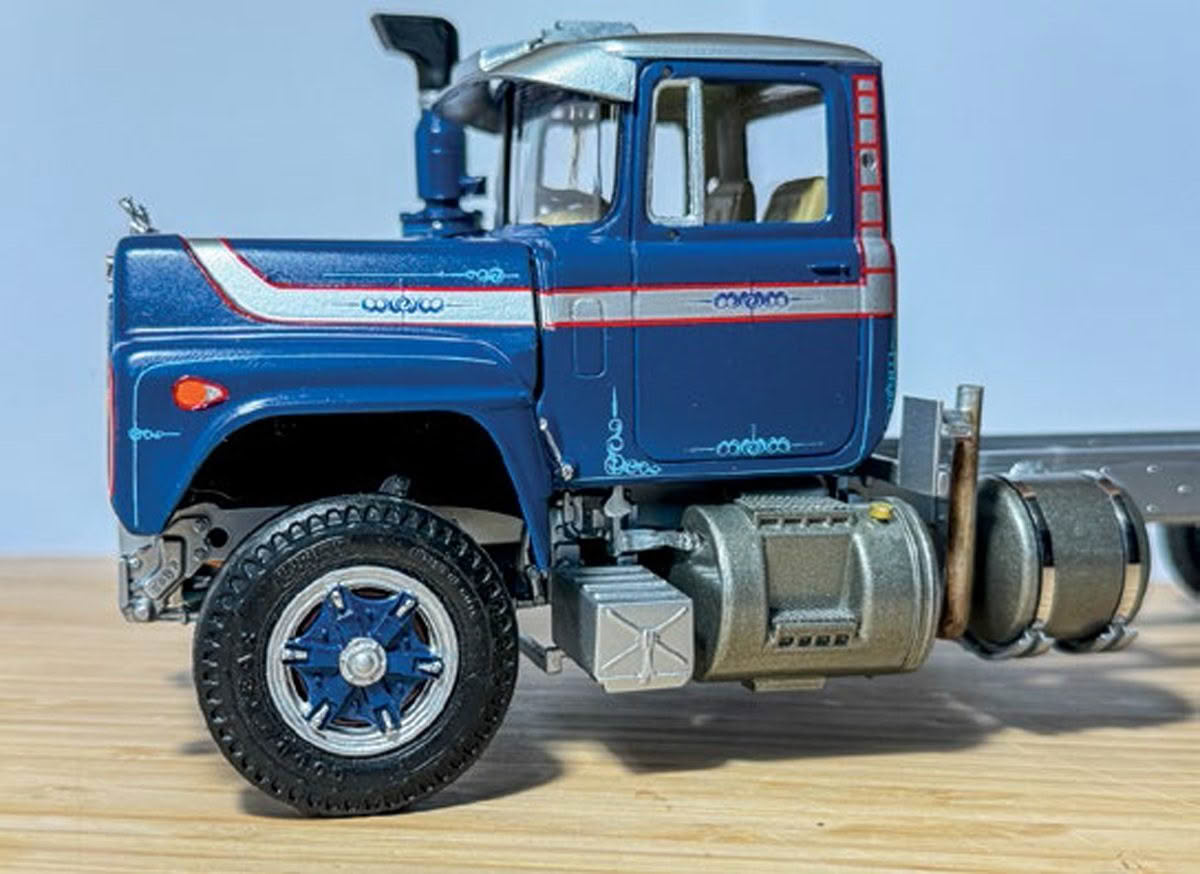
Now the fun begins, paint and livery. Starting with a primer coat first, we allow this to dry thoroughly and then apply our top coat. I have used Tamiya TS-15 Blue. Build up the coverage slowly with fine dustings and keeping the item moving at all times. This will prevent paint runs. Once the Blue has dried (I generally allow 48 hours), we can move on to masking out for the application of the Tamiya TS-30 Silver Leaf. Take your time here to ensure correct placement of the masking tape and solid adhesion so we do not get the Silver Leaf bleeding through onto the Blue. Once again, light dustings of Silver Leaf builds the colour gently. Allow the Silver Leaf to set for a moment but not dry completely, and carefully remove the masking tape. This way the Silver Leaf will easily peel away from the masking tape, leaving a crisp line.
With the painting completed and dry, we can move on and start applying the decals, and this is when things really start to pop. I have used a selection of Auslowe-supplied stripes and scrolls. These decal sheets are as you would expect; detailed and easy to use. Take your time with application and you will have outstanding results.
As Torquing Bulldog begins to emerge from the model bench, the excitement sure is starting to build as we look towards next month for the final instalment, and the big reveal. Stay tuned!
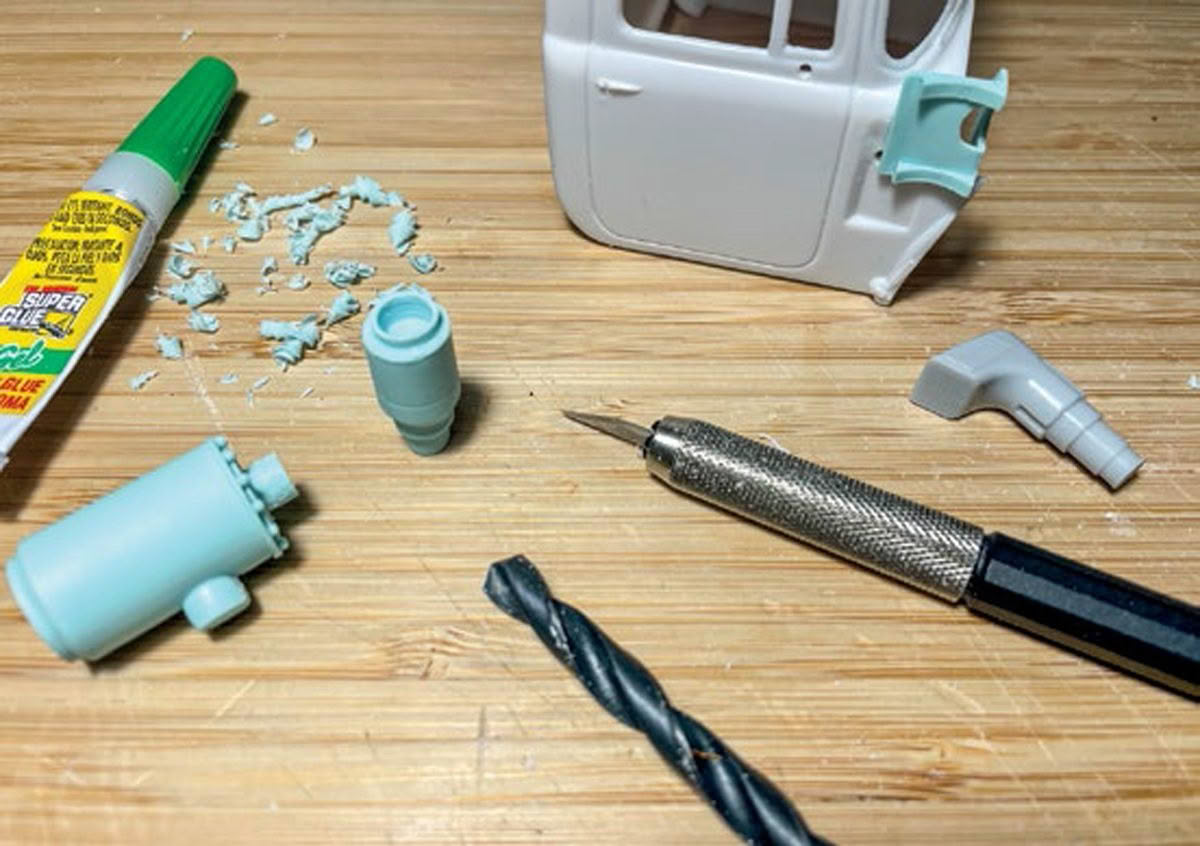
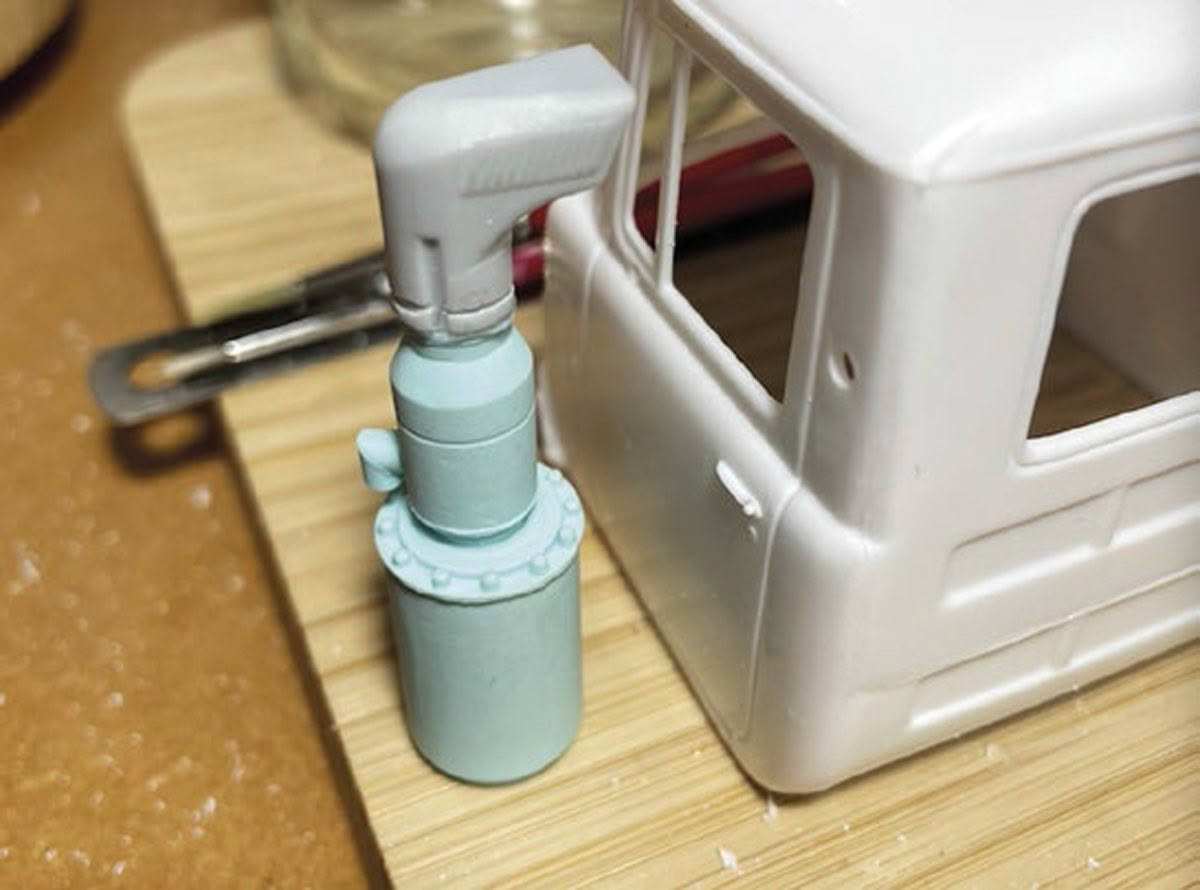
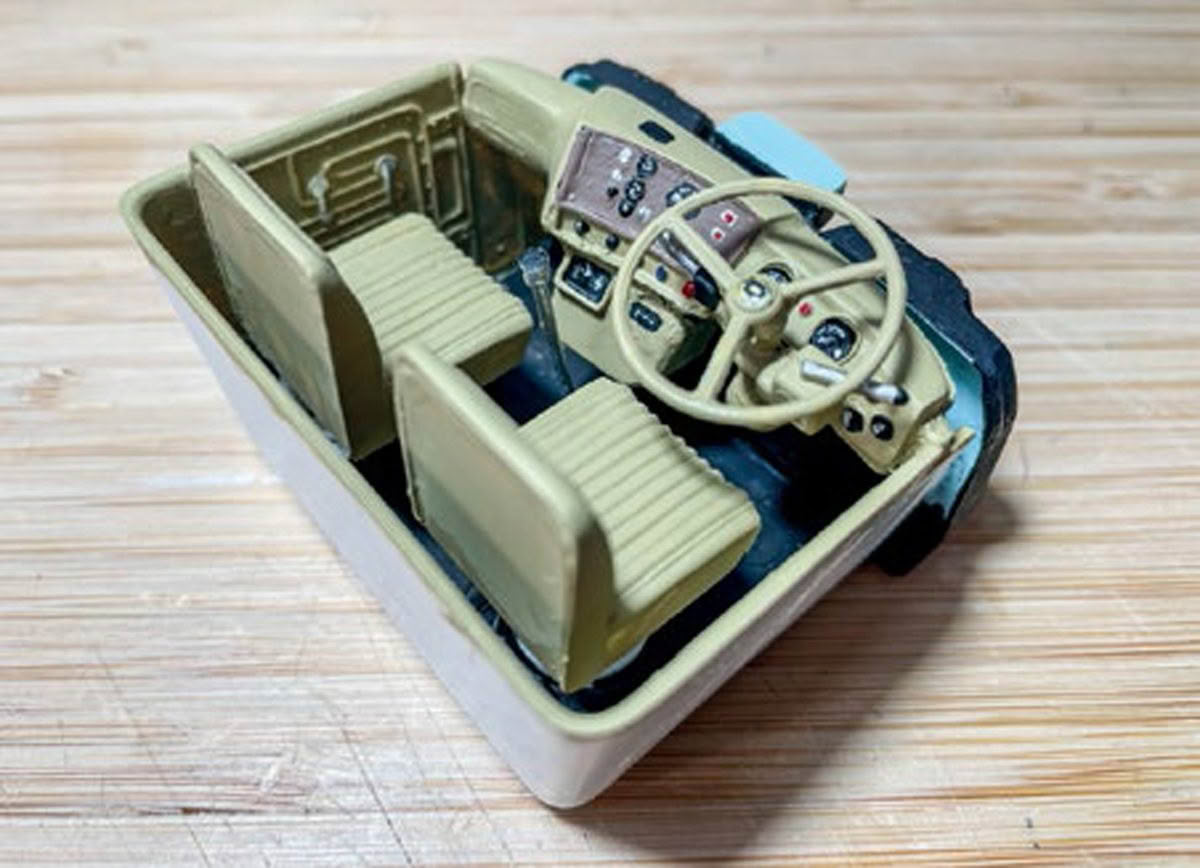
The Auslowe-supplied air cleaner, pre-cleaner and air ram are superbly detailed, as well as easy to assemble, and give our Torquing Bulldog project that authentic look. Completing the paint and dashboard detail has the interior all set for installation.
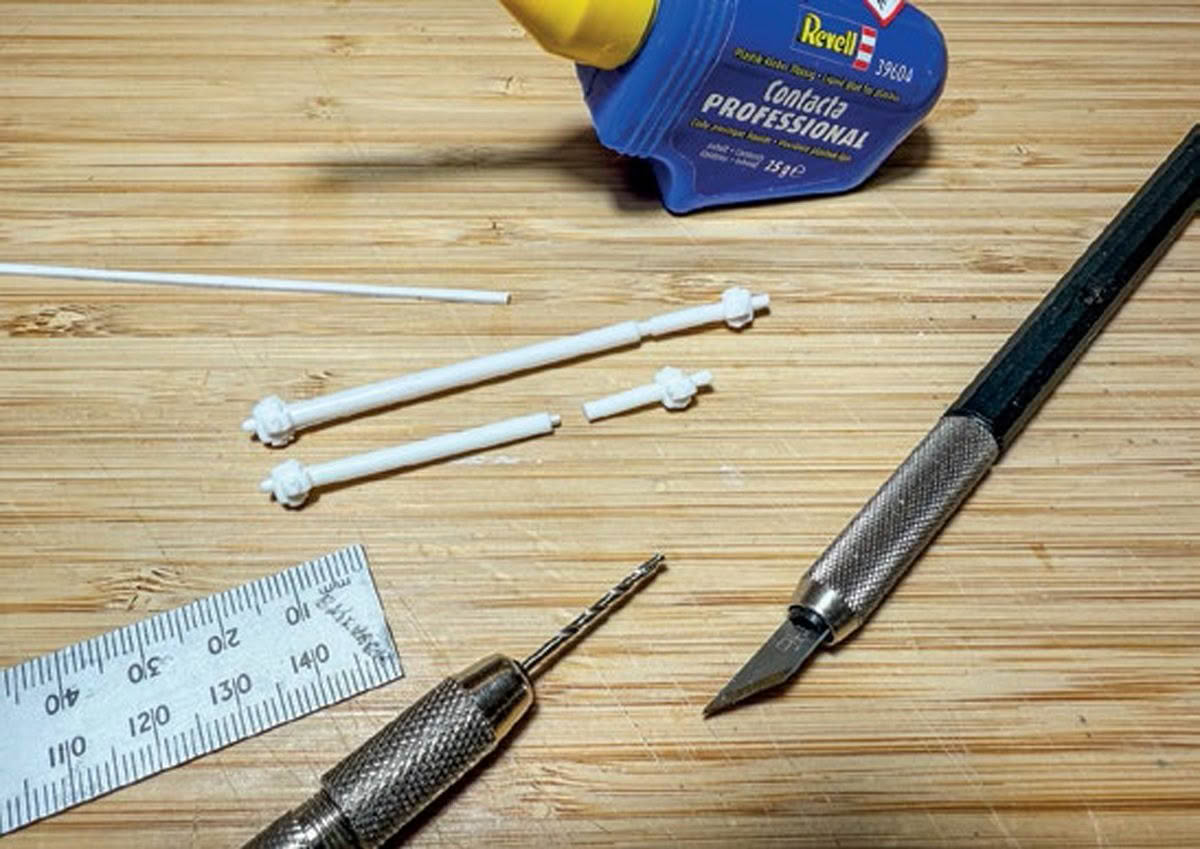
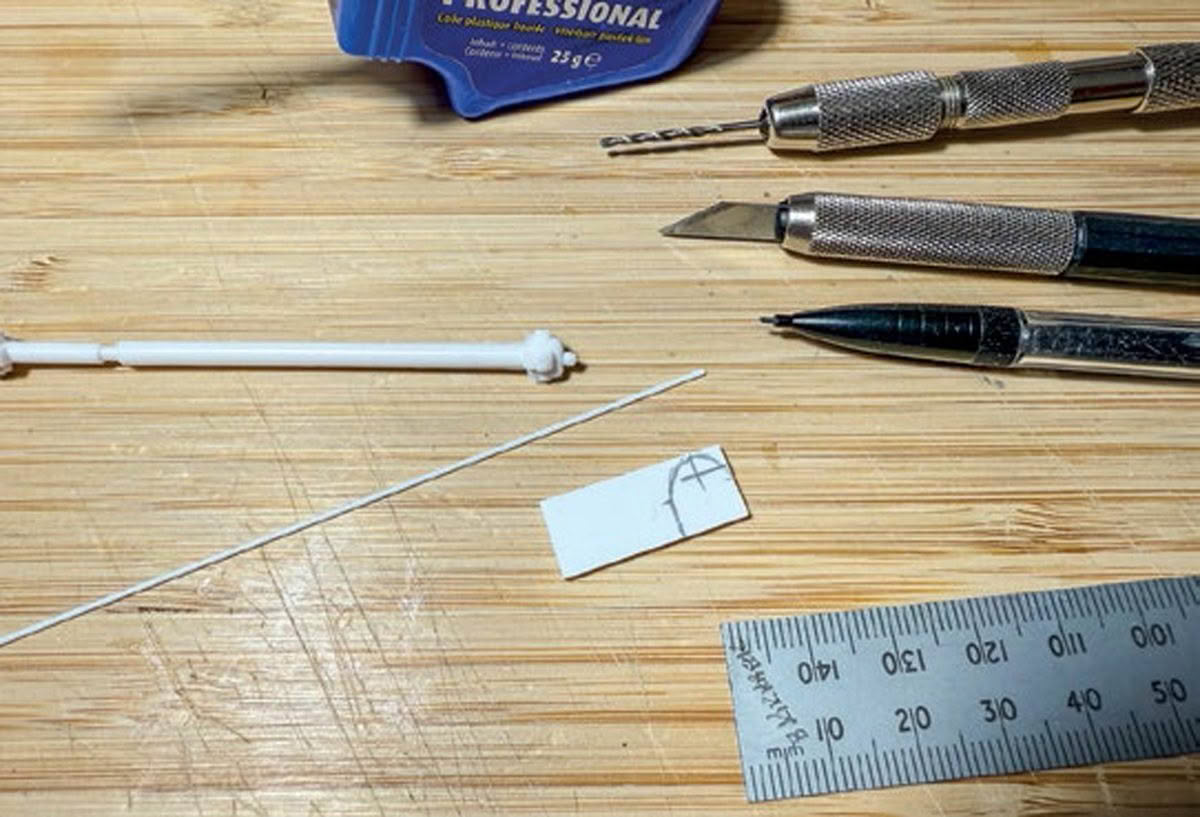
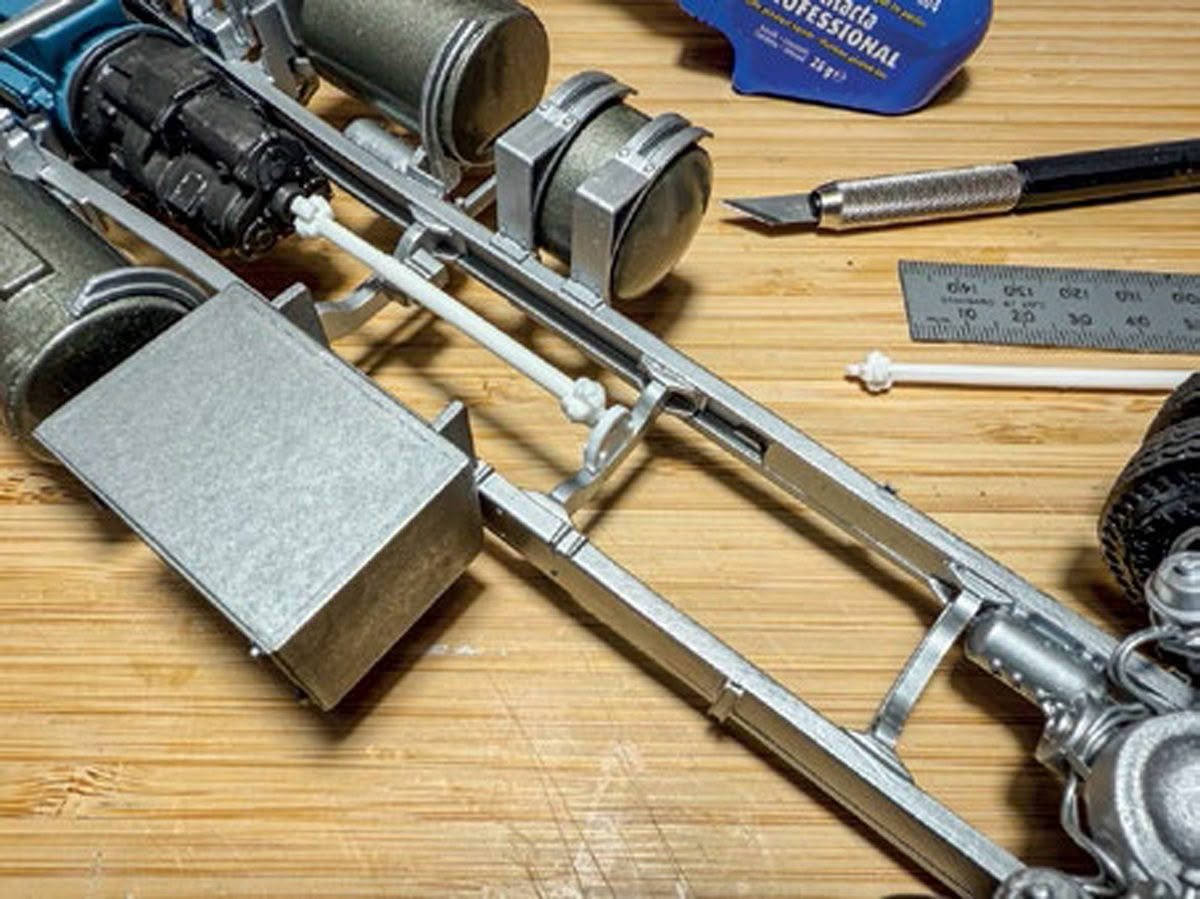
The extra length in the chassis now requires two driveshafts to cover the distance between the gearbox and the front diff. Using a piece of sheet plastic, we can construct a centre support bearing.
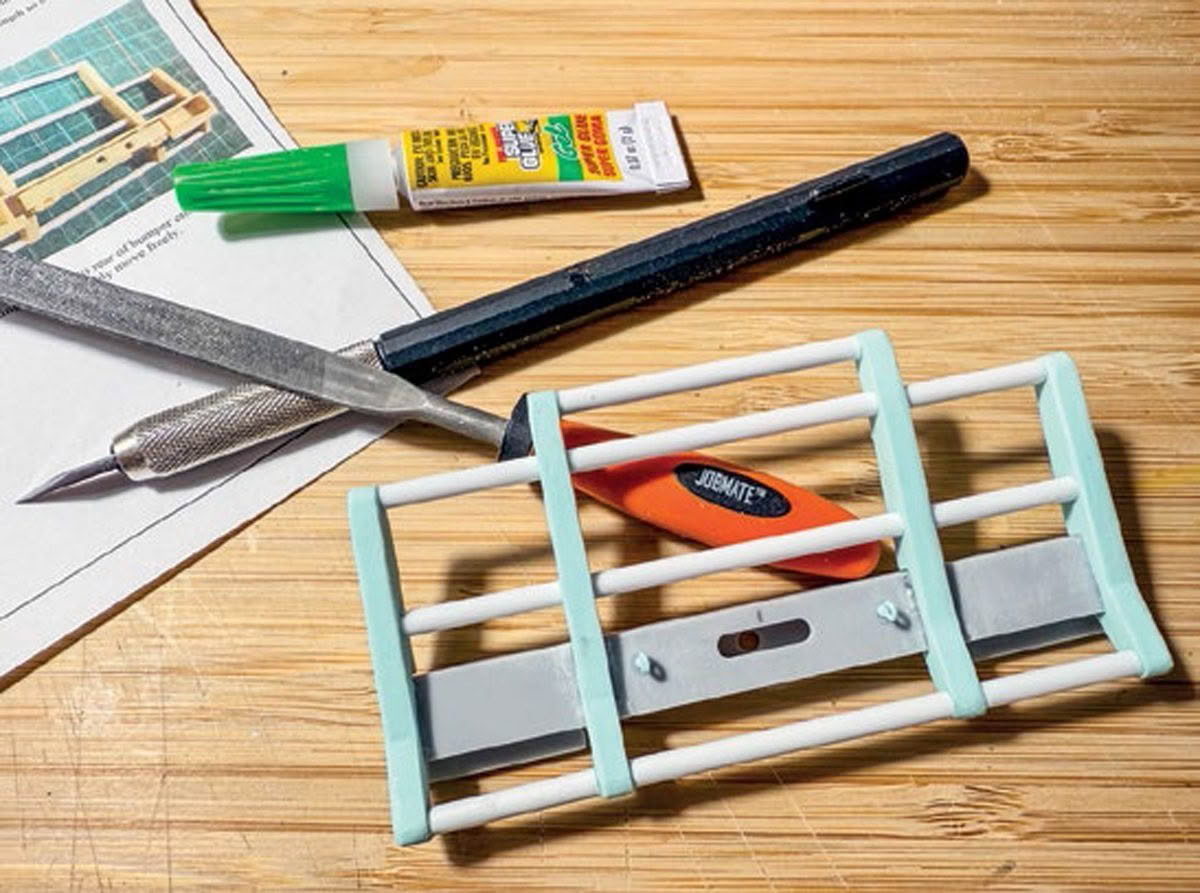
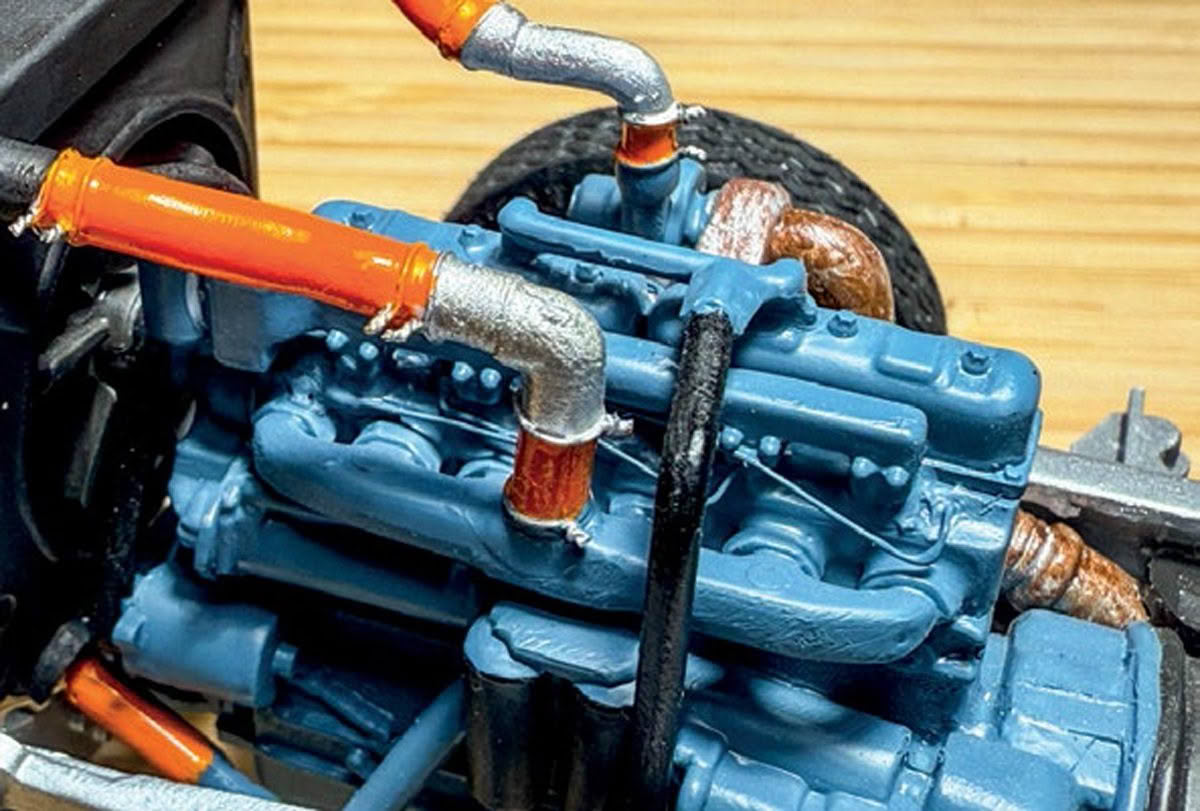
The bullbar was sourced from Auslowe, and as seen here, is now assembled, ready for paint. Once the radiator is installed we can complete the intercooler plumbing. To do this we use cuttings of 3mm plastic rod that we carefully form to shape with heat from the likes of a candle.
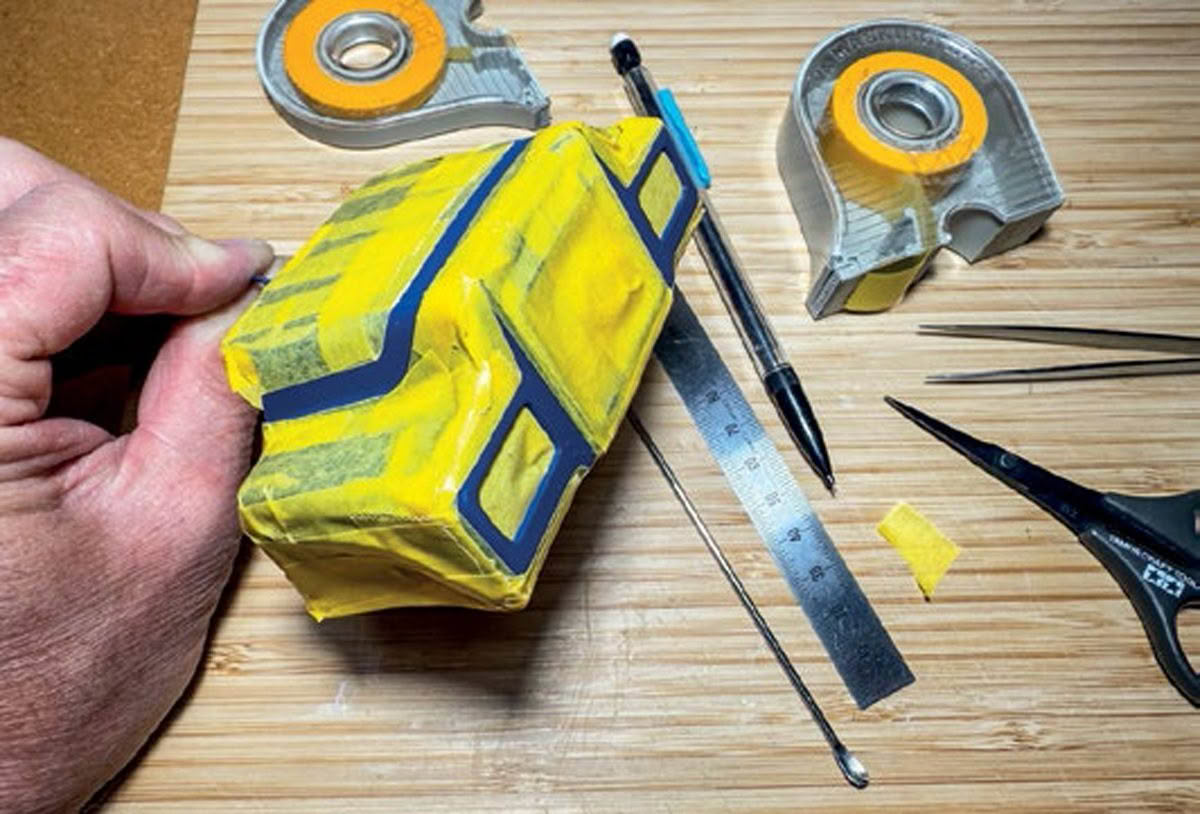
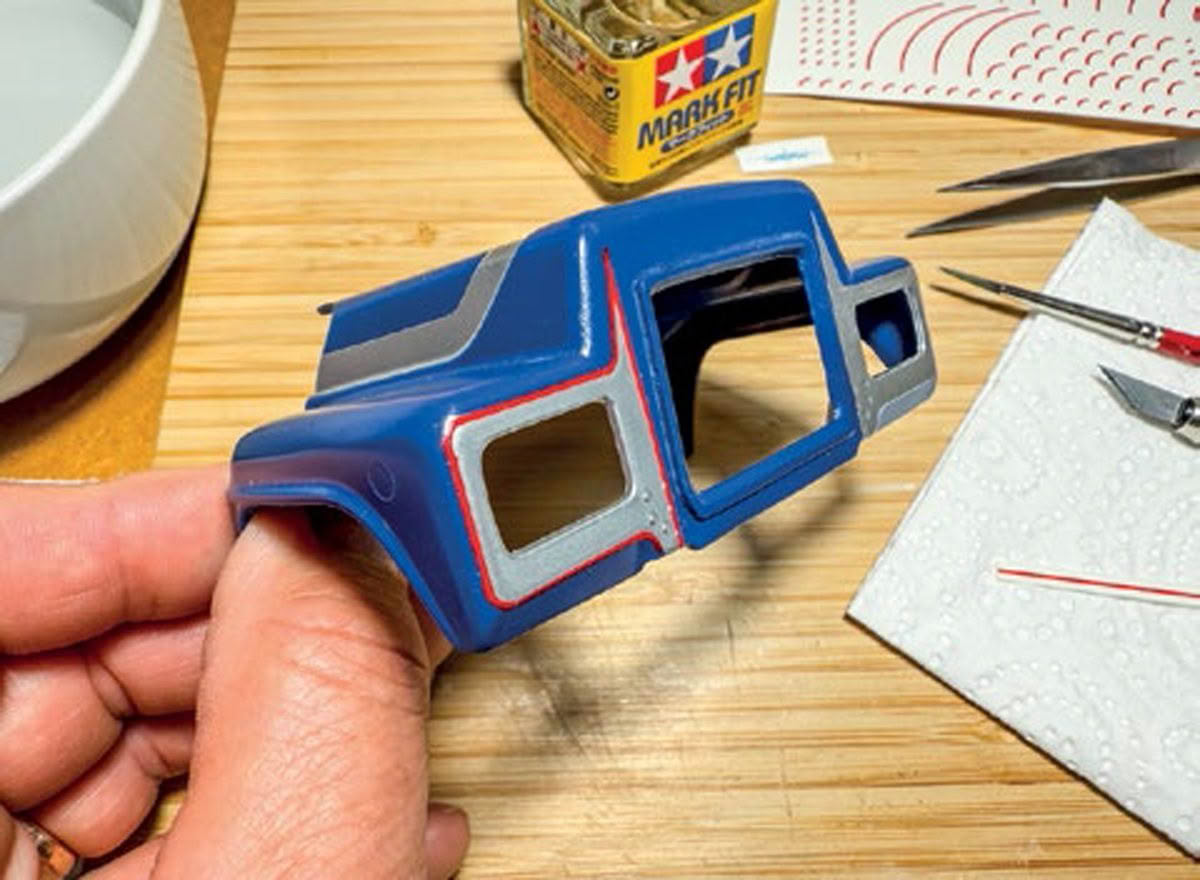
With the blue base coat applied, we can mask out for the application of the silver. Take your time here to ensure a crisp finish between the two colours. Once the paint has dried thoroughly, start the application of the Auslowe-supplied pinstripes and scrolls.
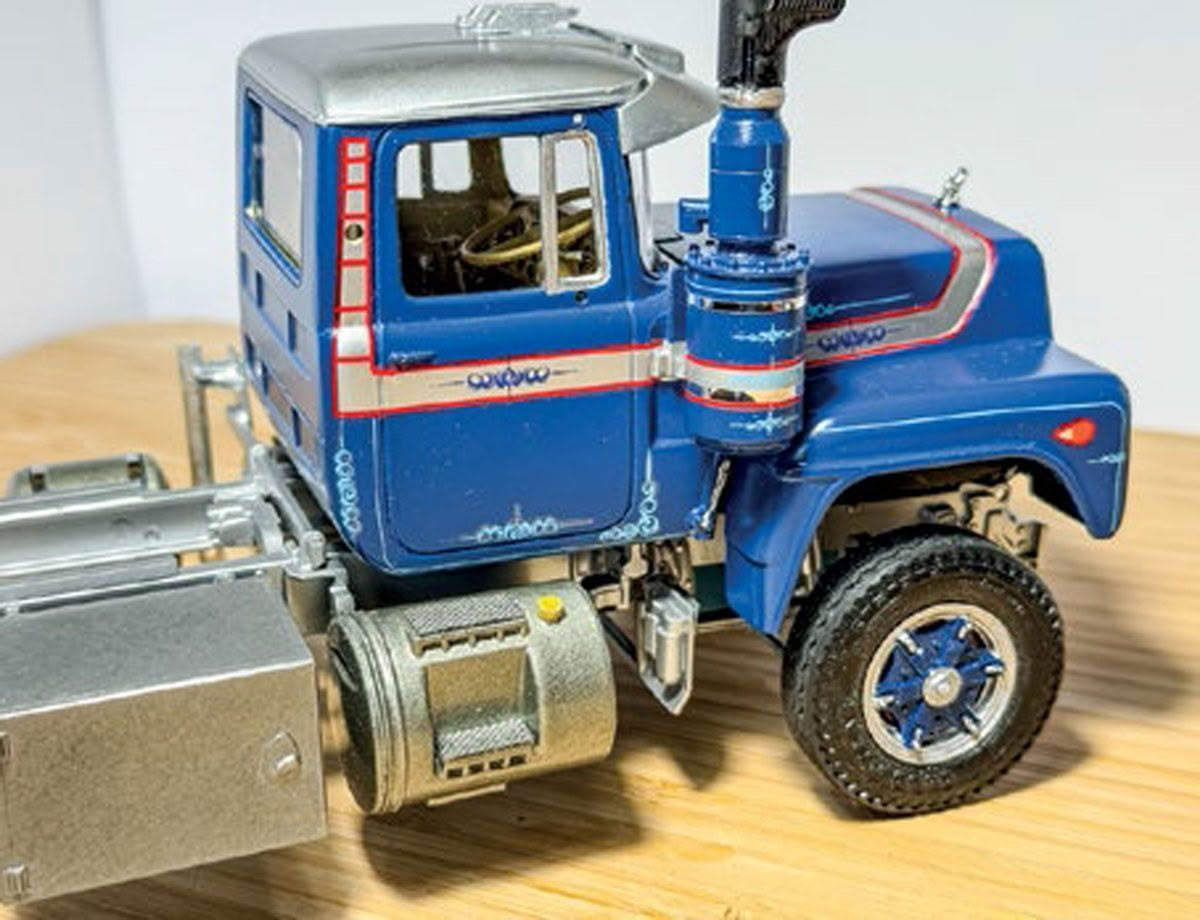
The plumbing for the exhaust stack needs to be reconfigured to the left side of the truck. This can be achieved using a blend of the exhaust pipe that comes with the kit, as well as an offcut of old plastic sprue of the same size. Form the pipework into shape carefully and gently with the heat from a candle.


