40th Anniversary Project – Torquing Bulldog Stage 3 – Running Gear
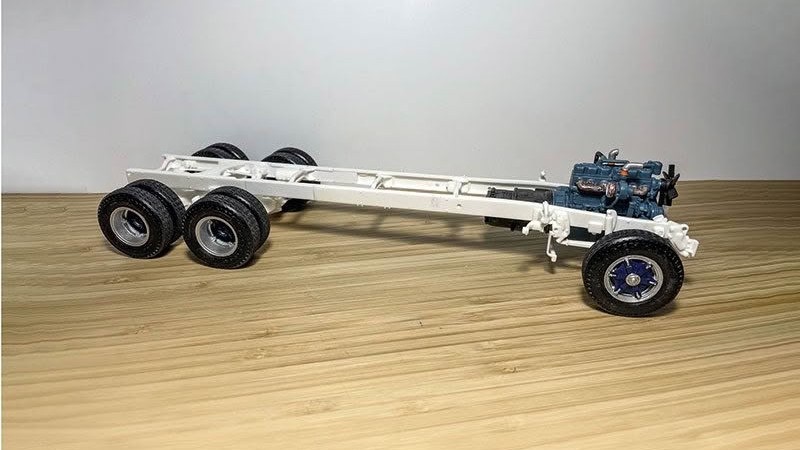
With the freshly assembled and stretched chassis, it is time to get some suspension and diffs in place at the rear, and implement a right-hand drive conversion at the front.
The chassis for Torquing Bulldog is well set, and now ready for the fitting of the rear end suspension and differentials. However before we rush in, there are a few steps to take to ensure that all six wheels end up sitting on the ground. First things first, jump back to steps 6 and 7 and complete the construction of the wheels. As you assemble the wheels, apply paint as you go, before the tyres are fitted to the rims; this will ensure a clean crisp finish.
Now move on to step 8, and fit the trunnion towers and trunnion (parts 46 to 51). Take care to get this as straight, square and as solid as possible; this is a critical step. Jumping to steps 12 and 13, we now assemble the two differentials in readiness for installation. Next is step 14 where we assemble the spring packs (parts 81 to 84).

Once the glue is dry, slide the spring packs on to the trunnion as shown, but do not glue in place yet. We first want to glue the two differentials to the spring packs, again keeping an eye on alignment and accuracy. Once the glue is well set holding the diffs to the spring packs, we now want to gently set the wheels on the respective stub axles, on both the diffs and the front axle. We are only sitting the wheels gently on the stub axles; do not send them 100% home yet, this is just a gentle test fit.
With the wheels just sitting on the stub axles, we can now gently rotate the spring packs on the trunnion slightly to ensure that all six wheels are resting on the ground. Once you are happy with the position of the spring packs and have all six wheels on the ground, go ahead and apply glue to the points where the spring packs attach to the trunnion. Leave the chassis in this state of assembly until the glue has fully set before moving; this will ensure nothing is accidentally bumped and moved. Once fully dry, take the wheels off again and proceed with the fitting of the shock absorbers (parts 85 and 86) as well the torsion bars (parts 88 and 89).

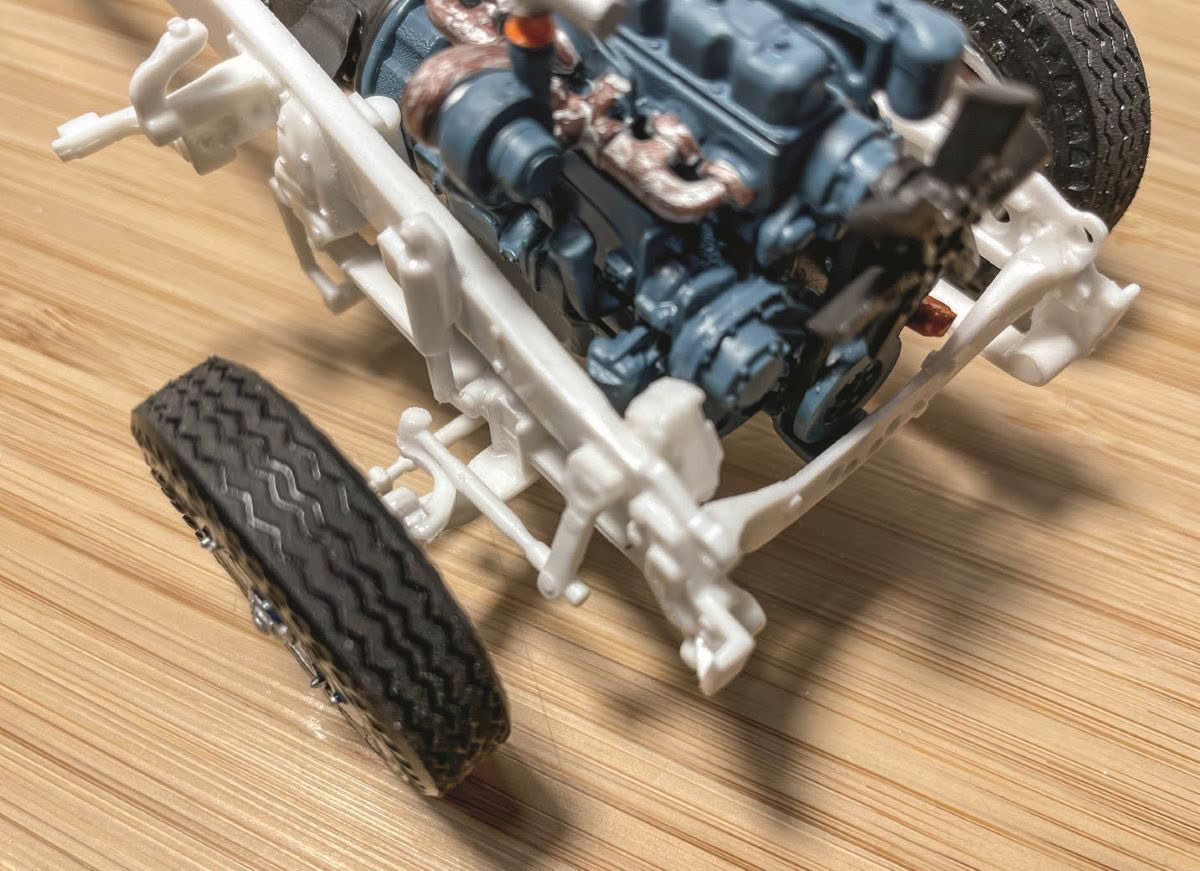
The conversion from left- hand drive to right-hand drive is extremely straightforward. Looking at steps 9 and 10, we utilise parts 56, 57, 60 and 61. Start by first drilling a 1.5mm hole through the right-hand side of the chassis, location as already provided on the left side, simply transfer. This allows us to place part 57 through the chassis in readiness for parts 56 and 61. Part 60 now needs to be rotated over on itself 180 degrees; this will convert it from its left side orientation and allow it to fit the right side.
With these tasks out of the way, we can now test fit the engine (do not glue in place yet), and continue and complete the installation of the chassis accessories, as well as the likes of air tanks and fittings.


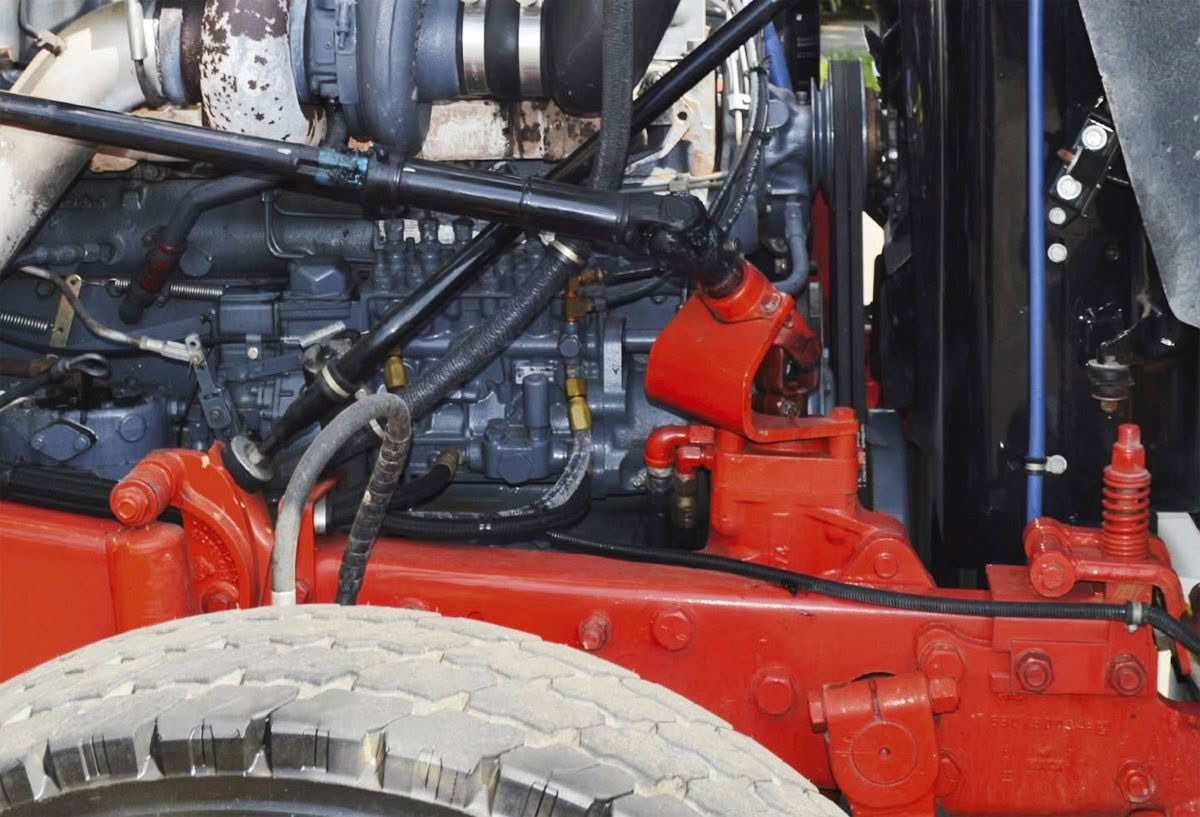
Looking at a reference photo, we can see the location of the steering box is a mirror image in a RHD setup of how it is placed in the LHD variants.