40th Anniversary Project – Torquing Bulldog Stage 1 – The Engine
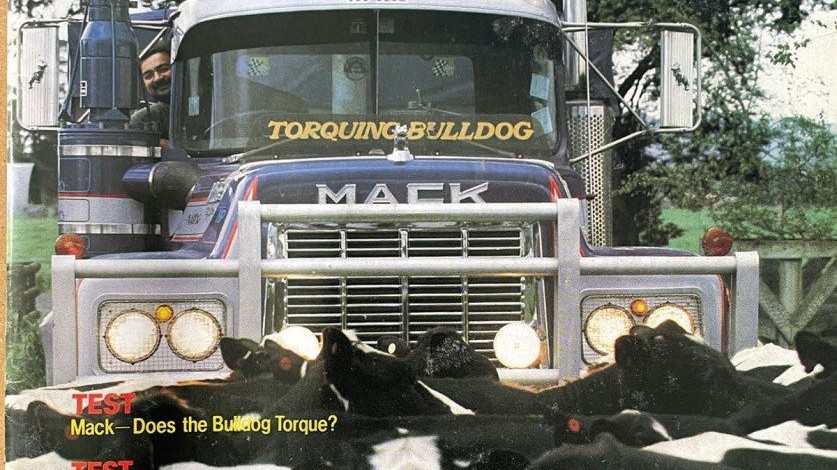
This month, we are straight into construction with the assembly, detailing and painting of the engine and gearbox for our 40th-anniversary Torquing Bulldog build.
As I mentioned last month, the Torquing Bulldog build is going to require some modification and scratch- building to get an accurate representation. Here we are, with the box opened, looking at the instruction sheet, and straight off, we’re faced with exactly that.
We are using a kitset based on the early American R685ST powered by a 237hp turbocharged six-cylinder engine. Torquing Bulldog, on the other hand, was the later R688RST model with the more powerful 350hp intercooled version of the Mack six-cylinder engine. So, yes, modifications are needed.
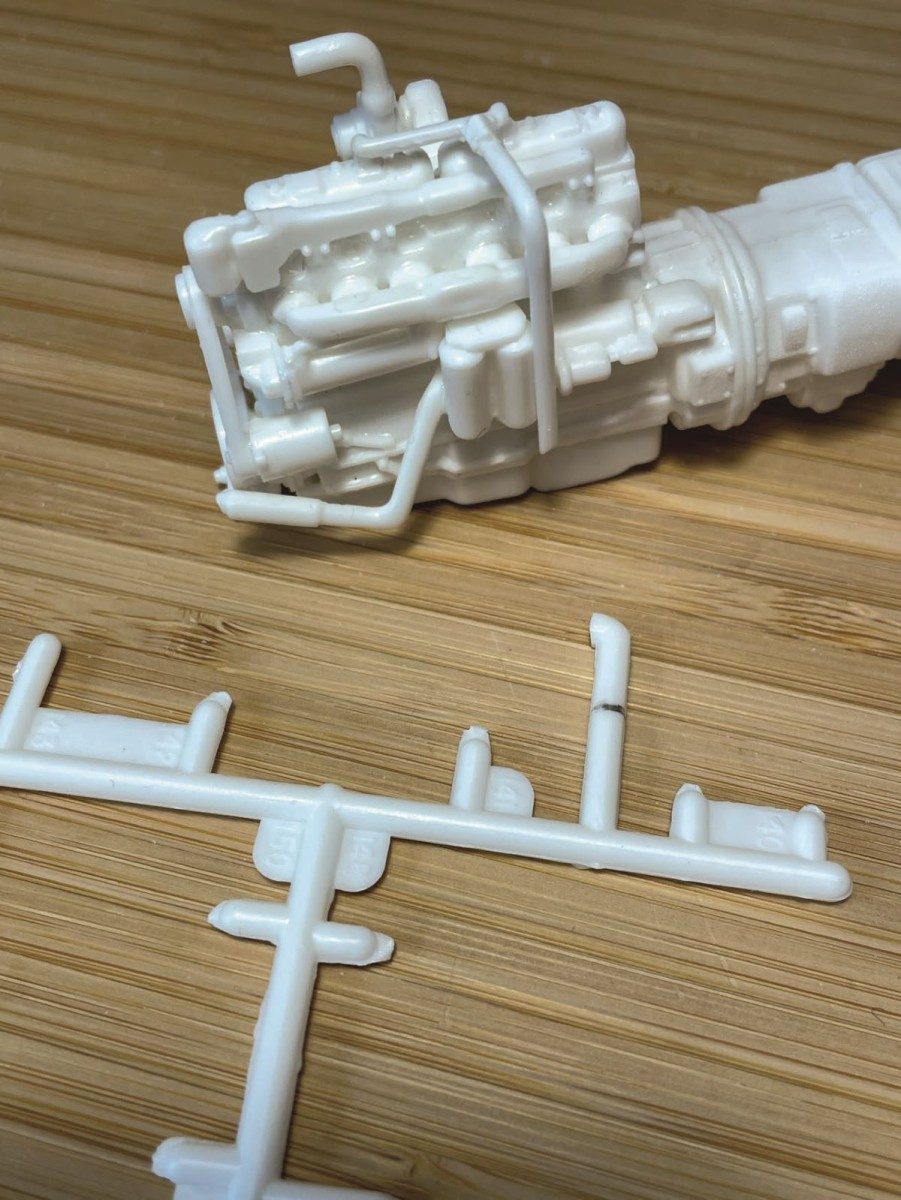
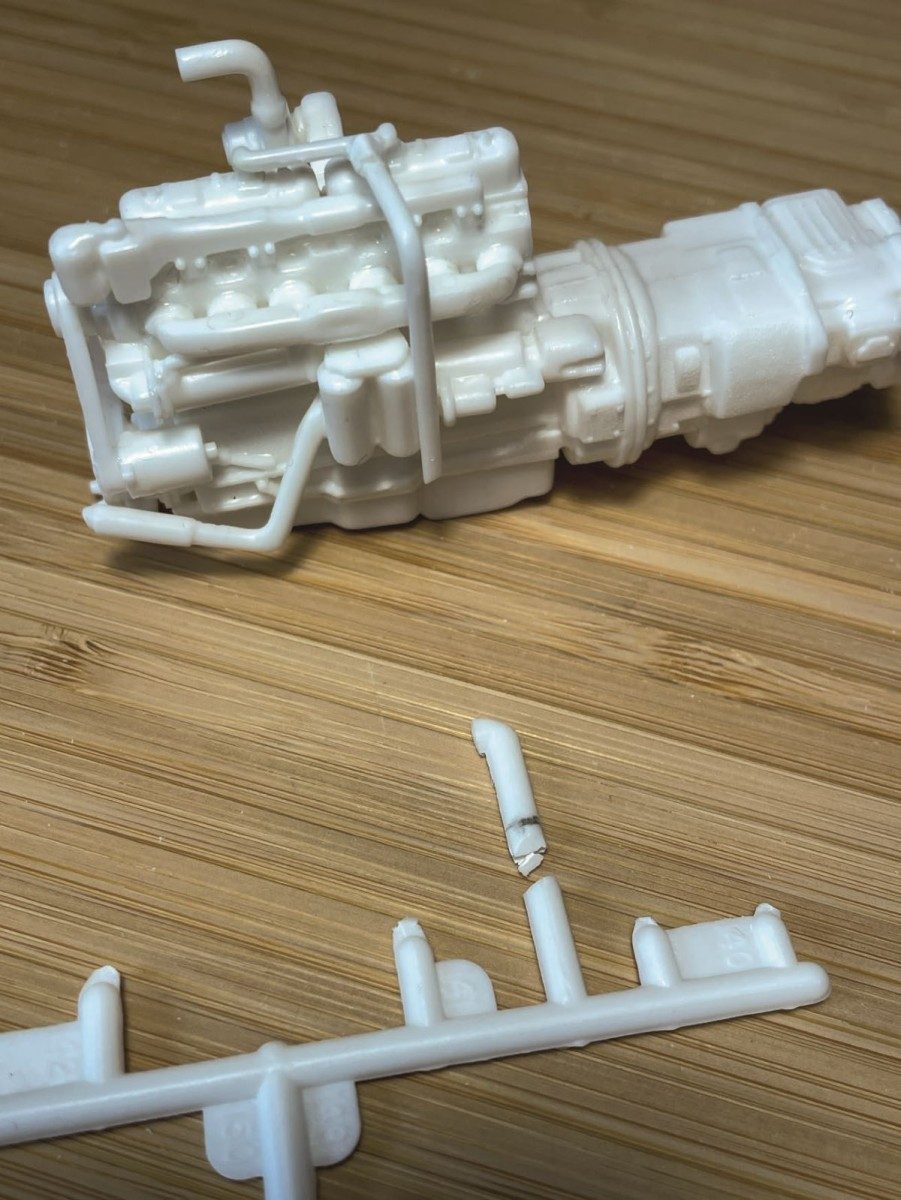
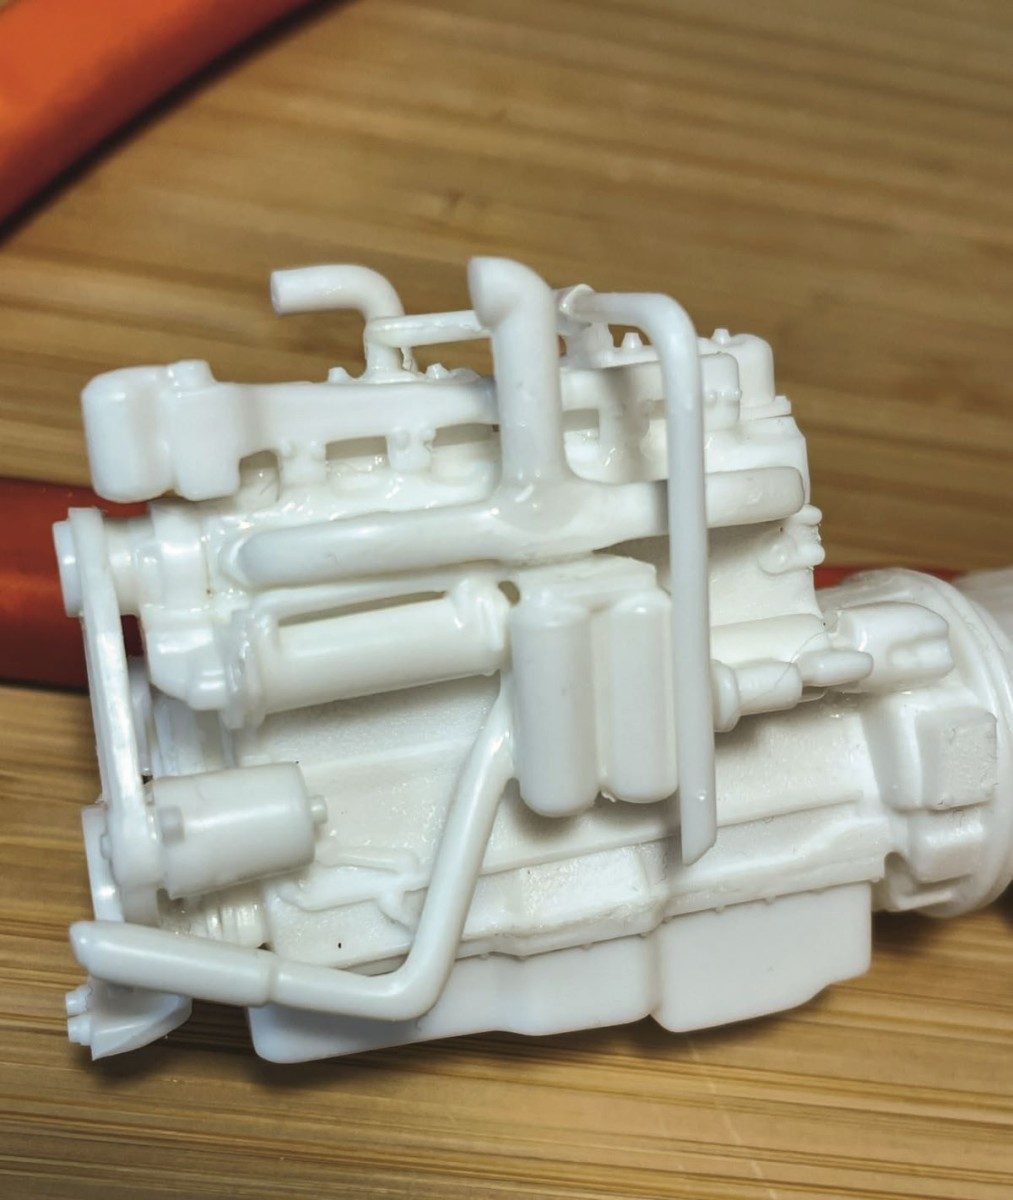
As detailed in the images here, with some minor plumbing changes and a bit of creative bending of old waste plastic sprue, we can easily reconfigure the power plant to resemble the later 350hp version.
We will also fit a few extra details to add a little more realism, starting with the use of some fine wire to create compression hose clamps for the intercooler plumbing, as well as injector plumbing. These minor additions take little time to complete but add depth to the build that will take it up a notch.
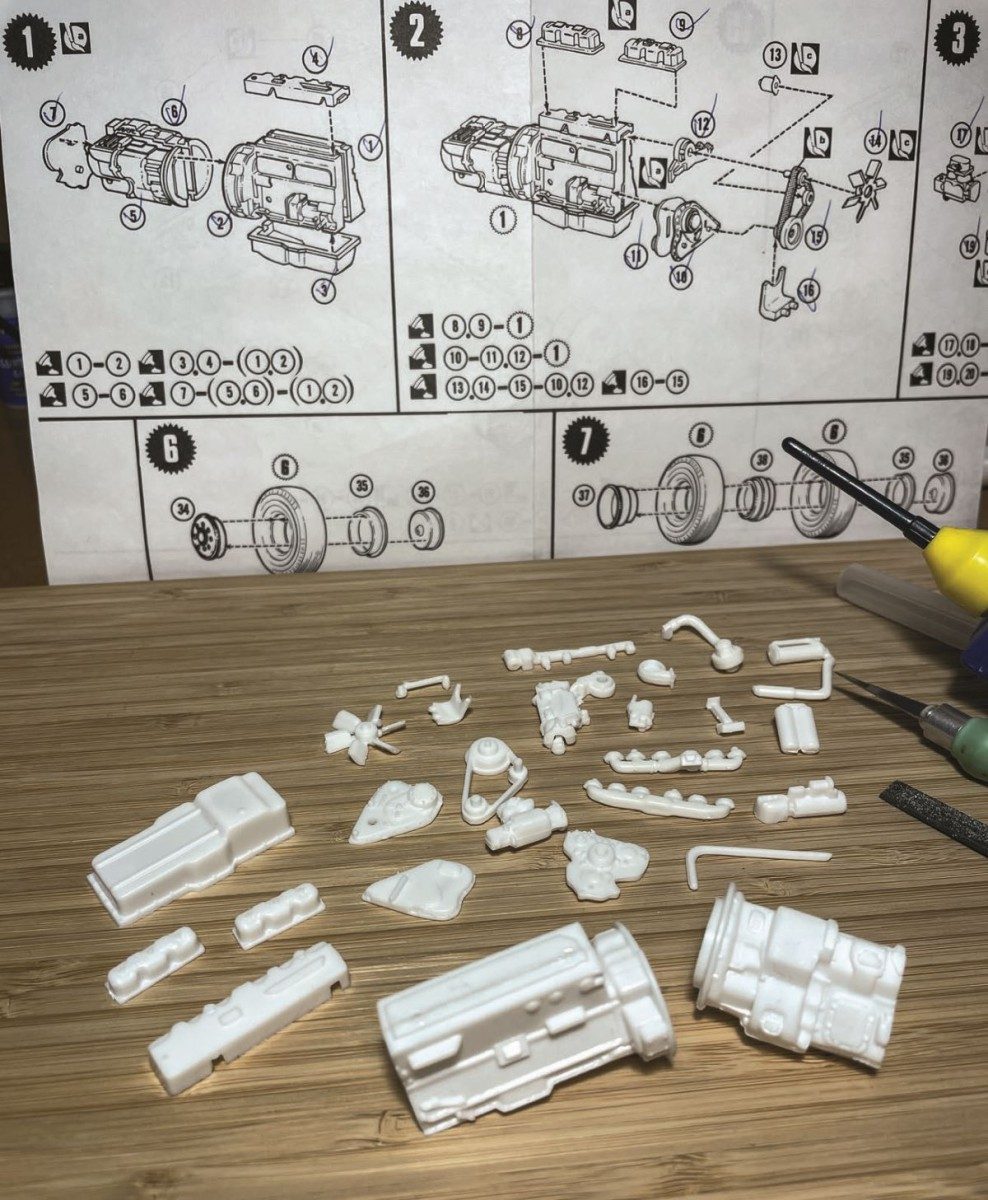
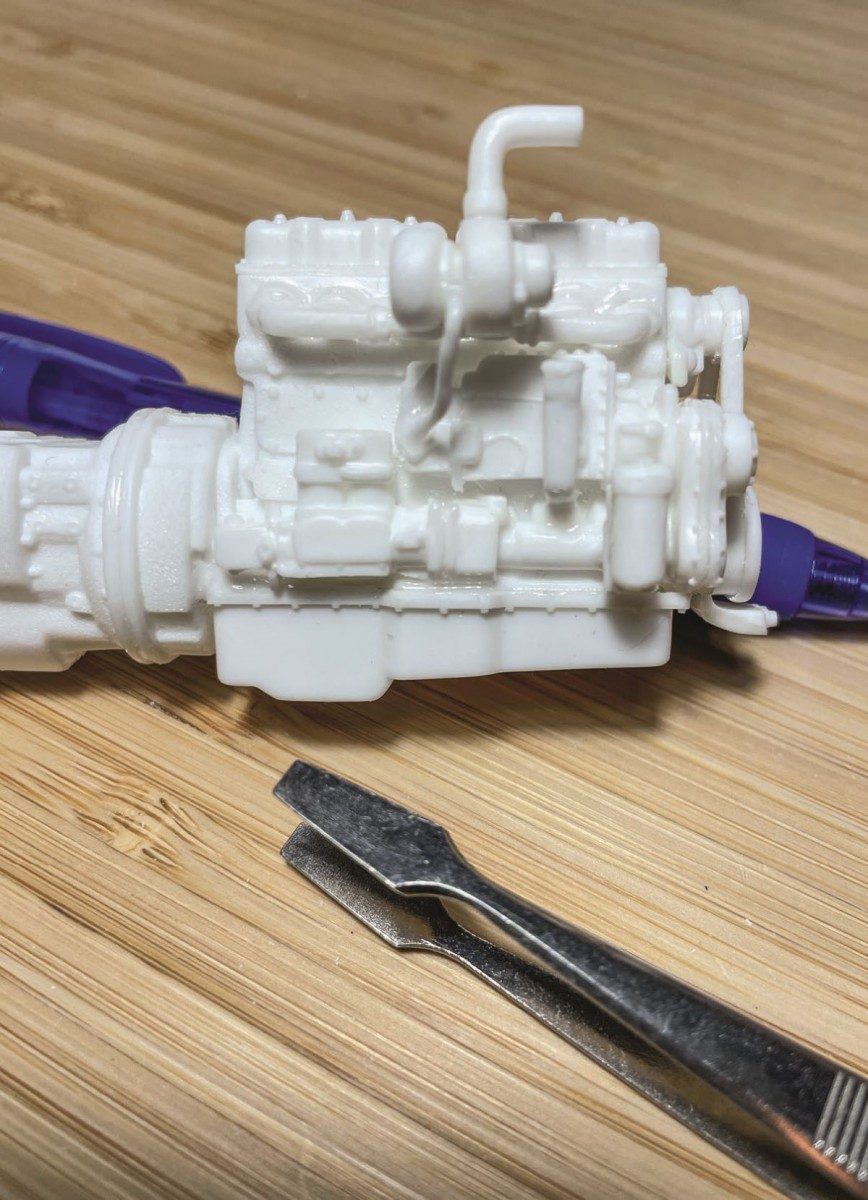
The required parts are laid out and we are underway, with the engine block and gearbox halves seen here glued together.
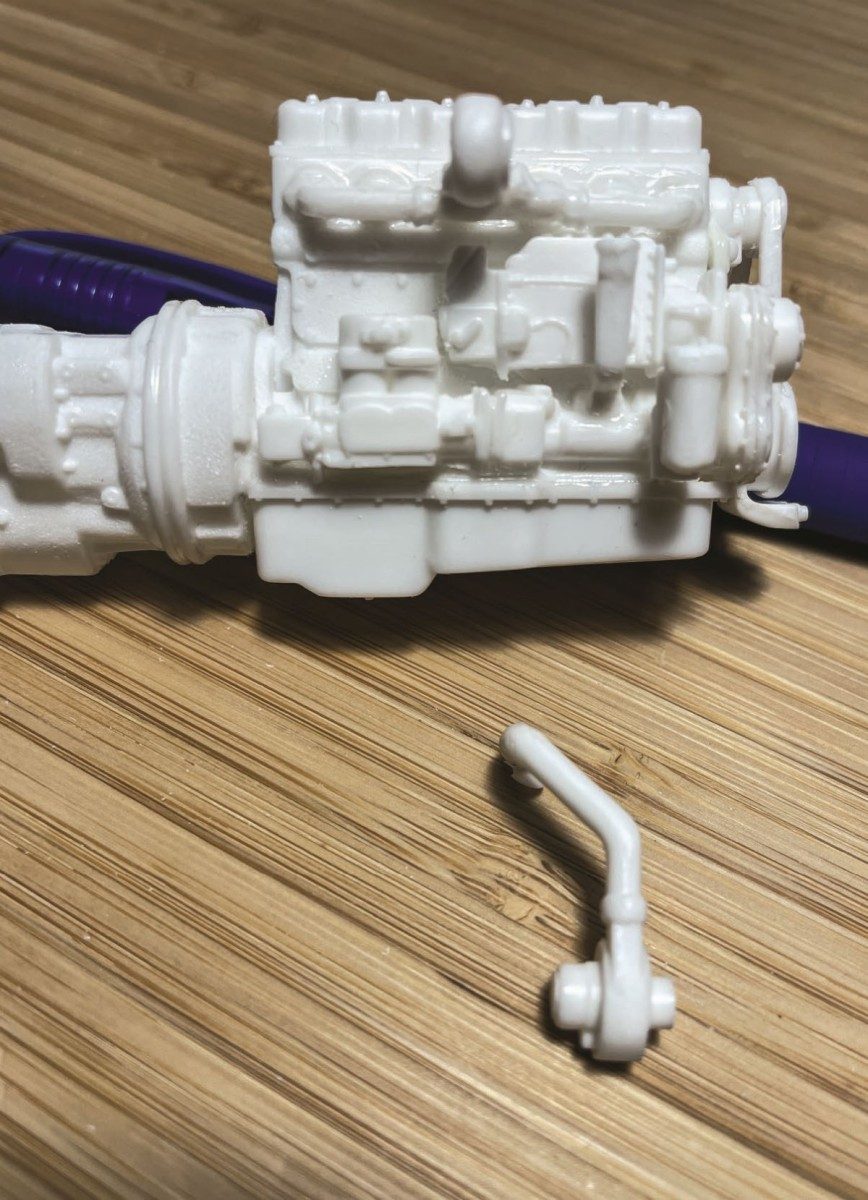
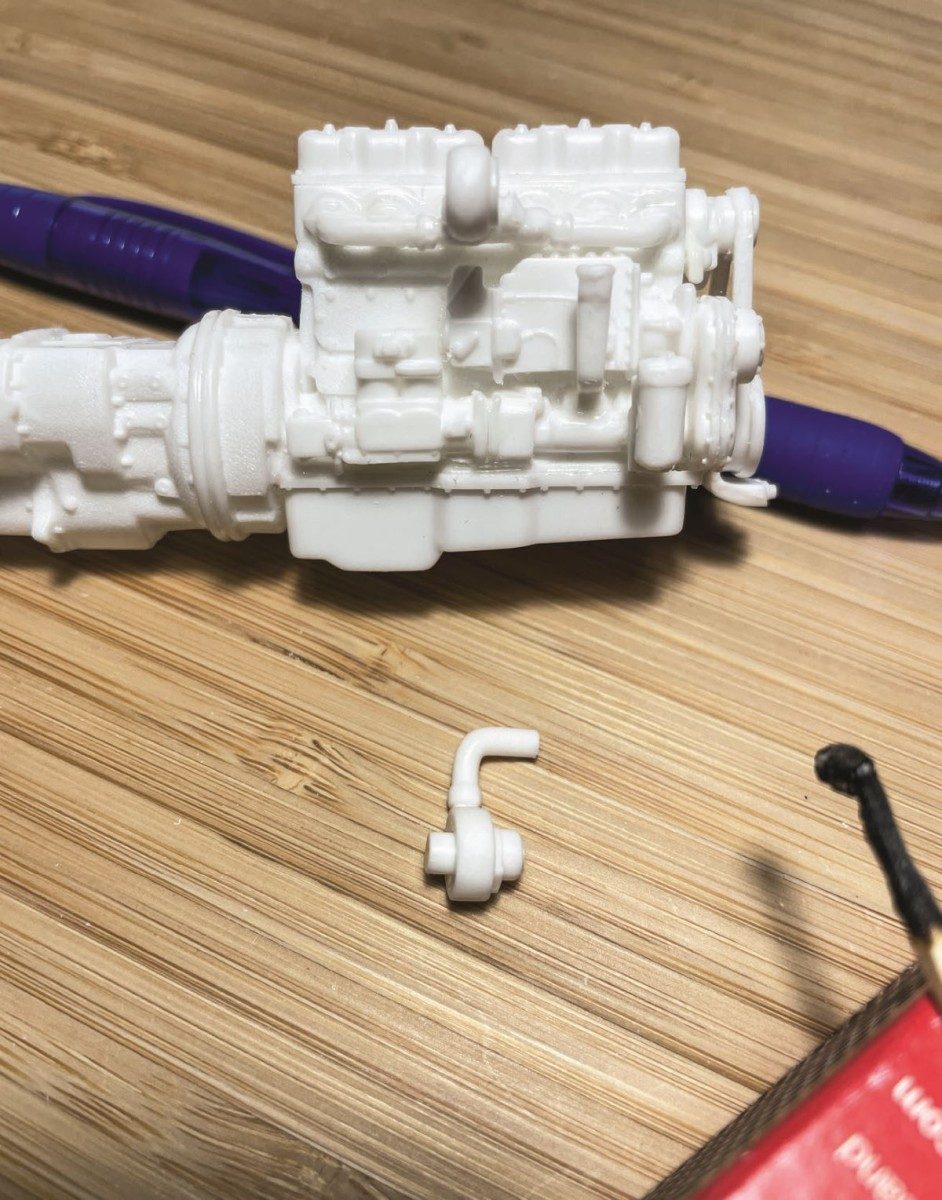
Part 24
Part 23
Before fitting turbo charger inlet housing (part 24), use gentle heat from a burning matchstick to soften the plastic of the outlet pipe from the part 24. Using the reference photo as a guide, hold the softened plastic in place until it has reset. With the reference photo as our guide again, cut the pipework to length, then glue part 24 into place. Now place the oil feed pipe to the turbo charger housing (part 23) and glue as needed.
Part 21
Find an old waste plastic sprue with a bend in it. Cut it off of the sprue, and shape it to an overall length of 12mm. Apply glue and fit to the centre of the inlet manifold (part 21) where part 24 would have connected.
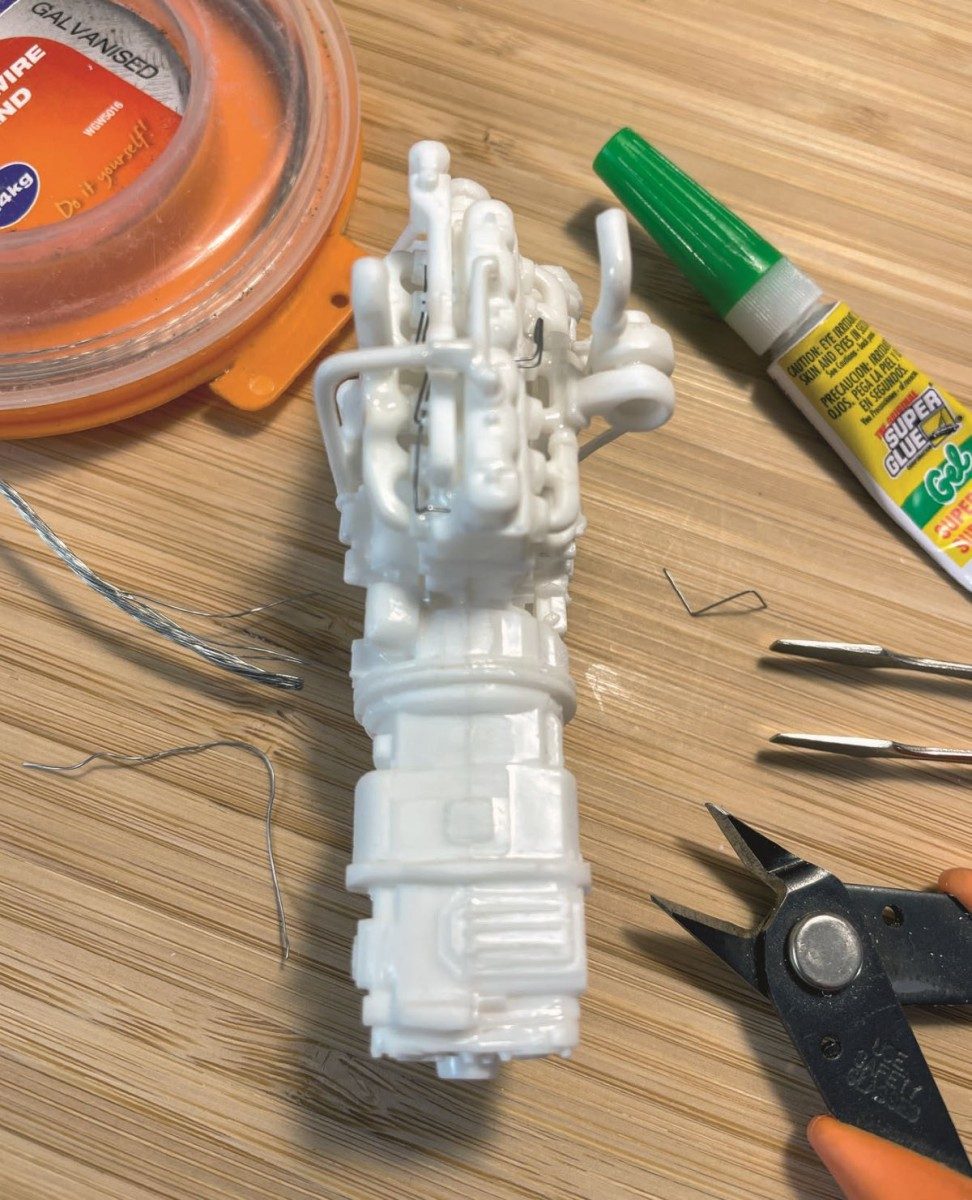
Single strands of picture frame hanging wire can be easily cut to length to form the injector lines. Once again look to your reference photos for guidance of shape and connecting locations. Use a dab of superglue to attach.
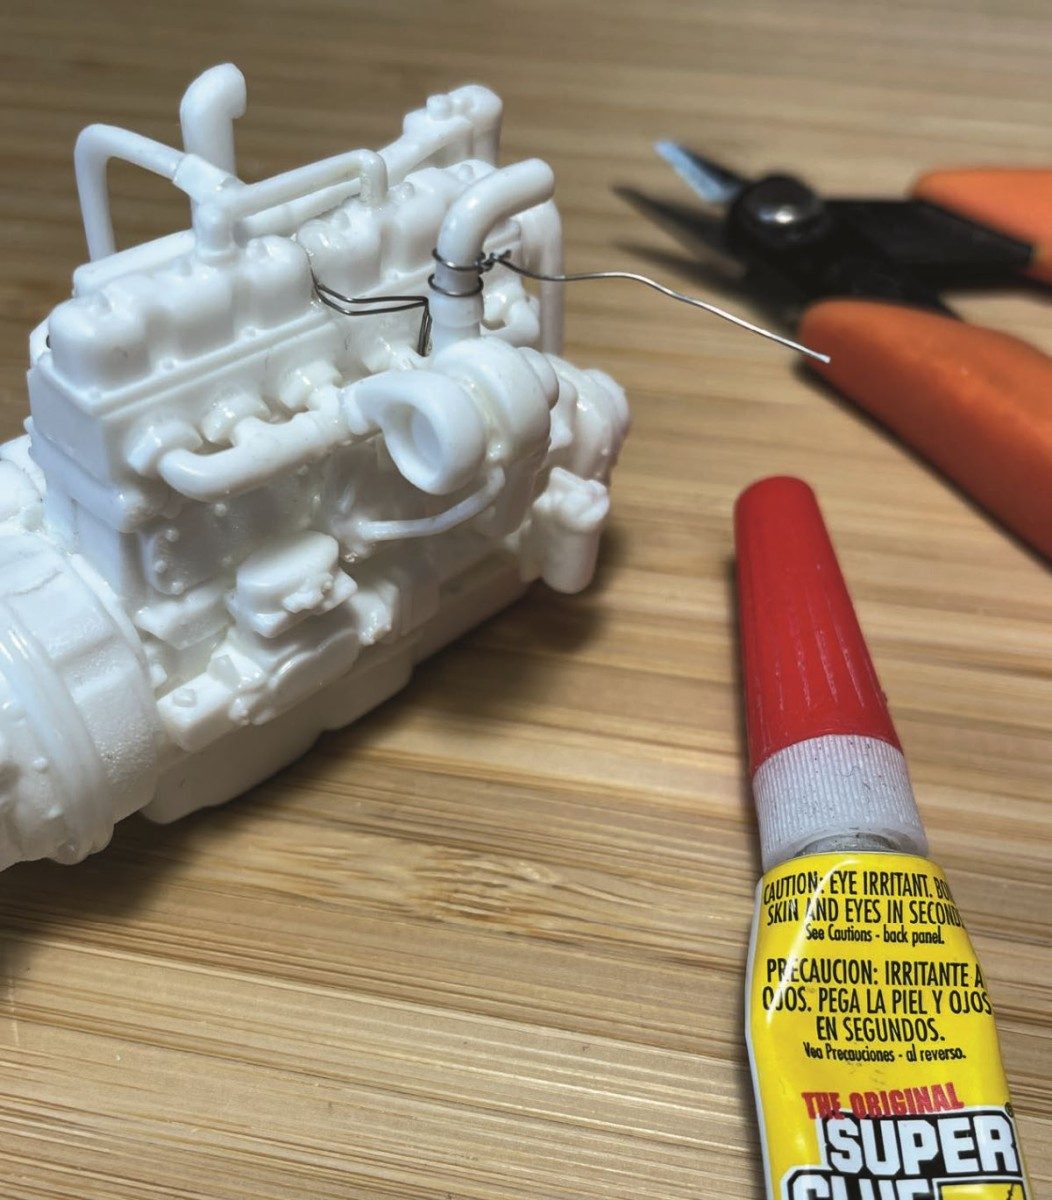
Wrap a single strand around the intercooler plumbing and gently twist together the ends. This will form the look of compression hose clamps. Once in place, trim the excess wire and again use a dab of superglue to hold the straps in place.
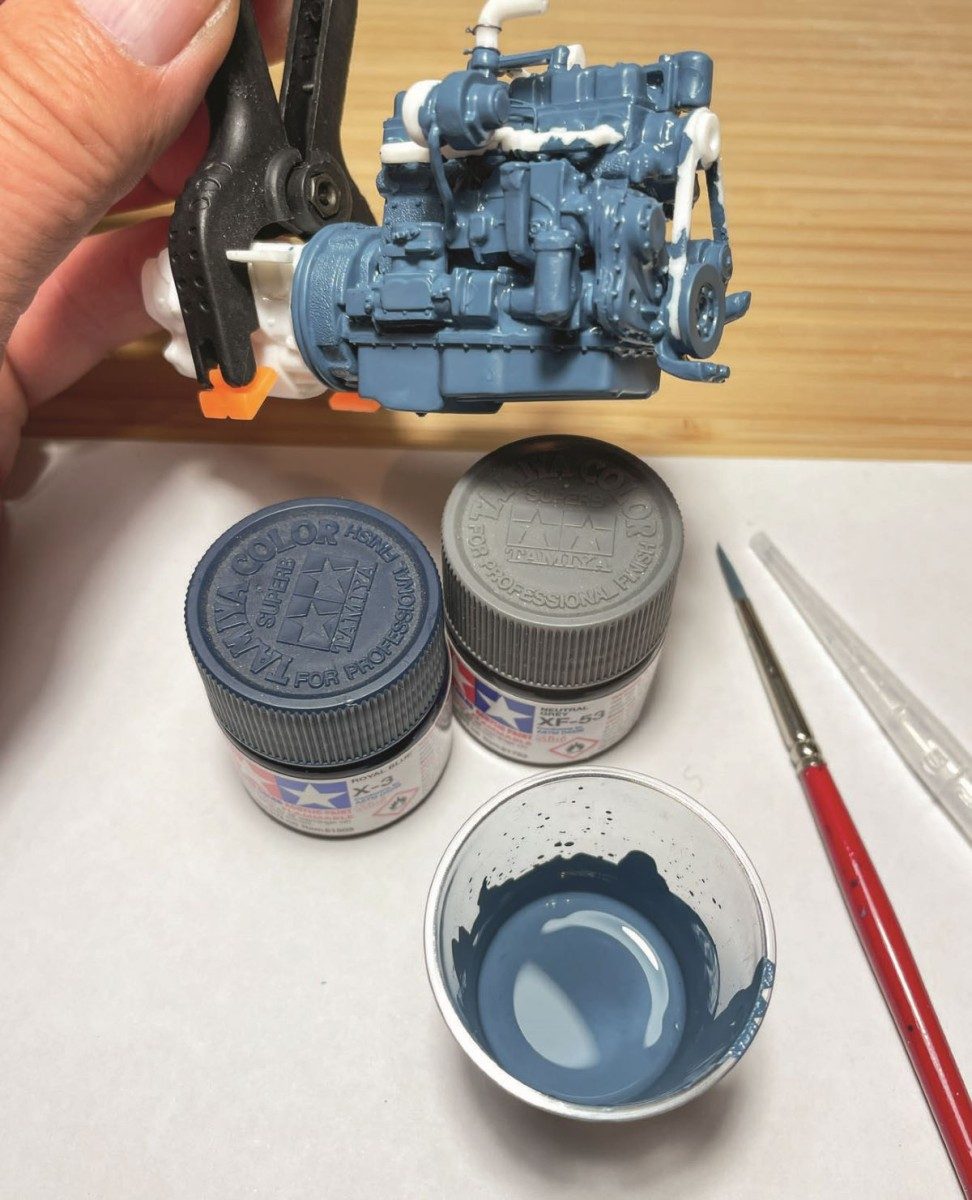
We were unable to find the correct colour off the shelf, so we mixed Tamiya X-3 Royal Blue and XF-53 Natural Grey to give us the blueish grey that resembles Mack power plants of this era.
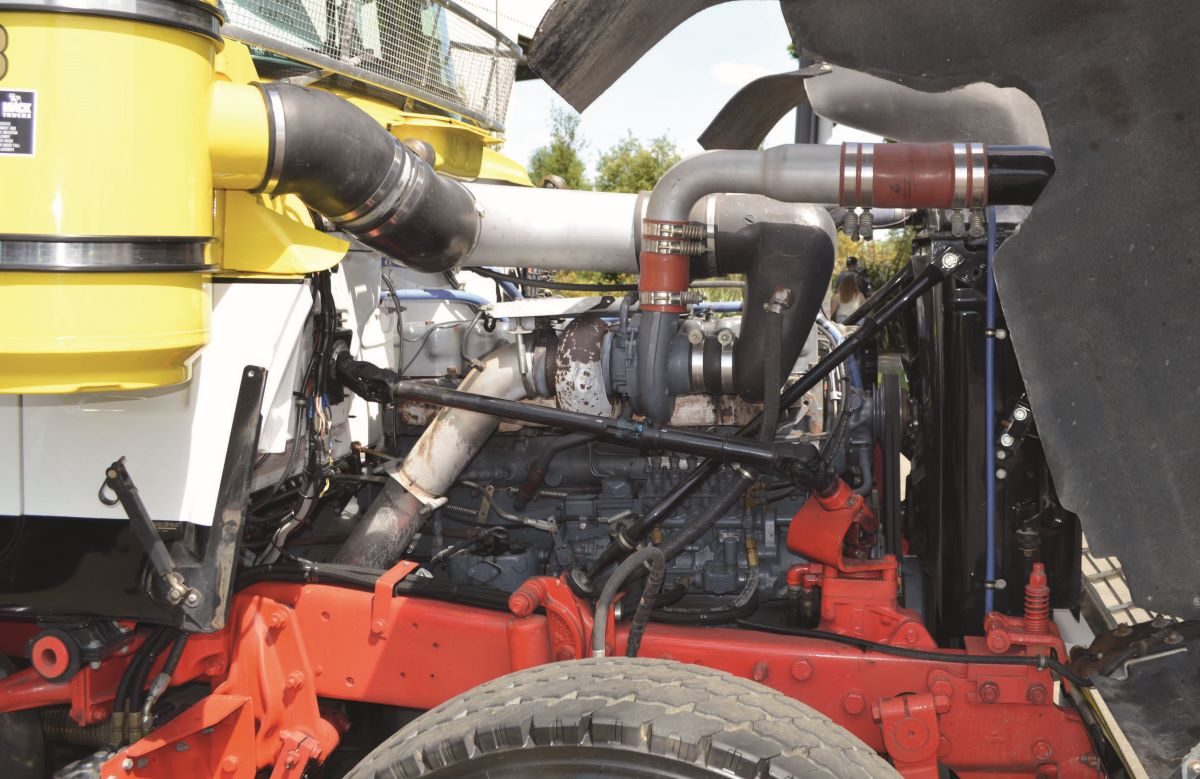
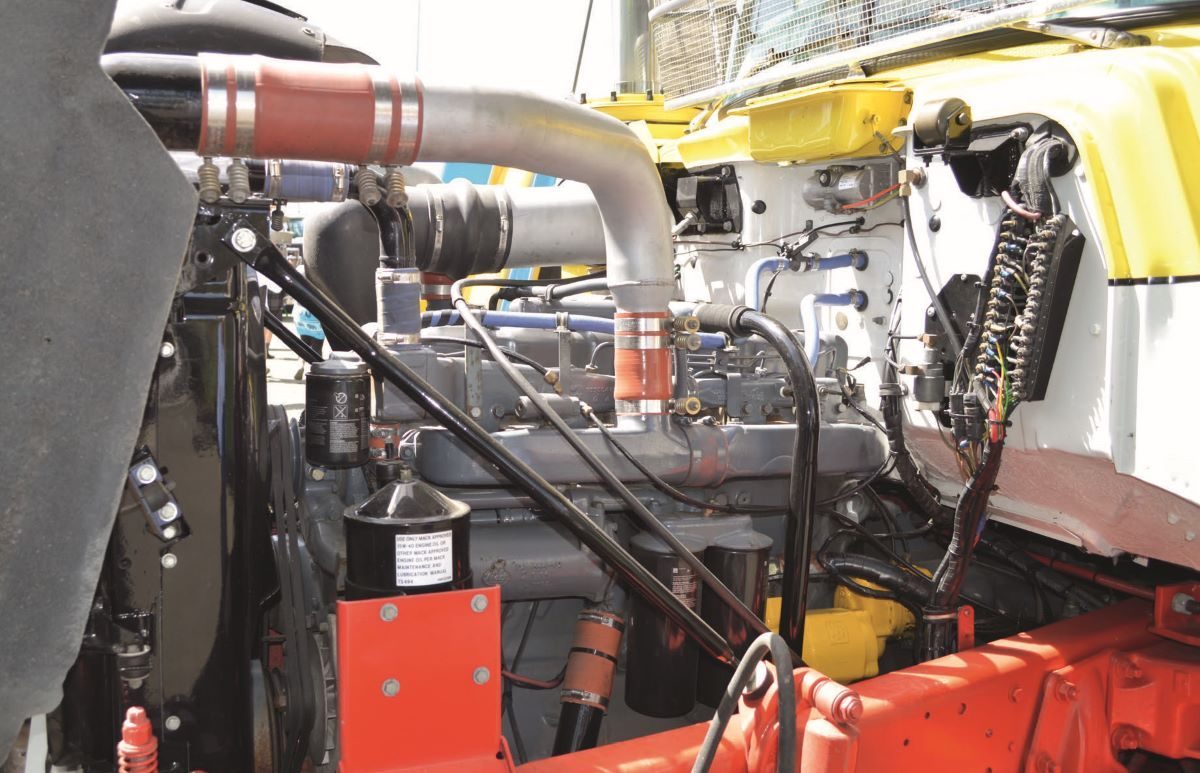
With a build like this, reference photos are a must have. These two were supplied by our good mate, Marty Crooks
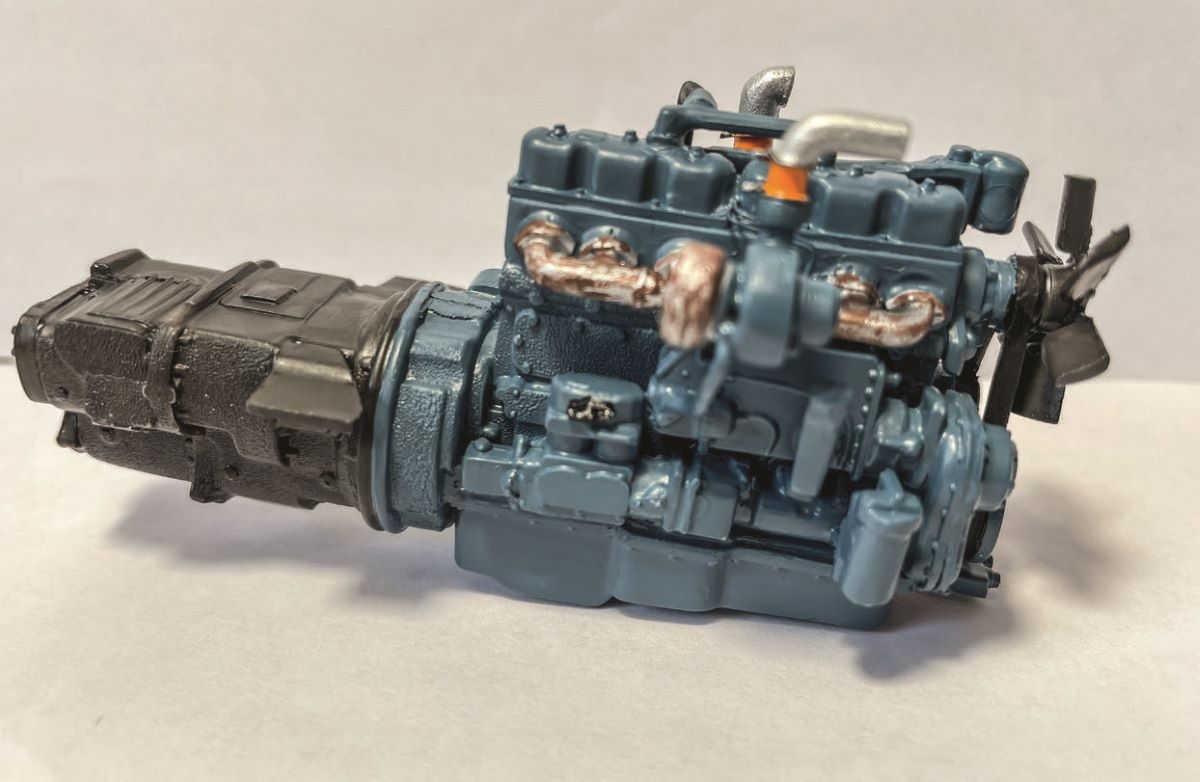
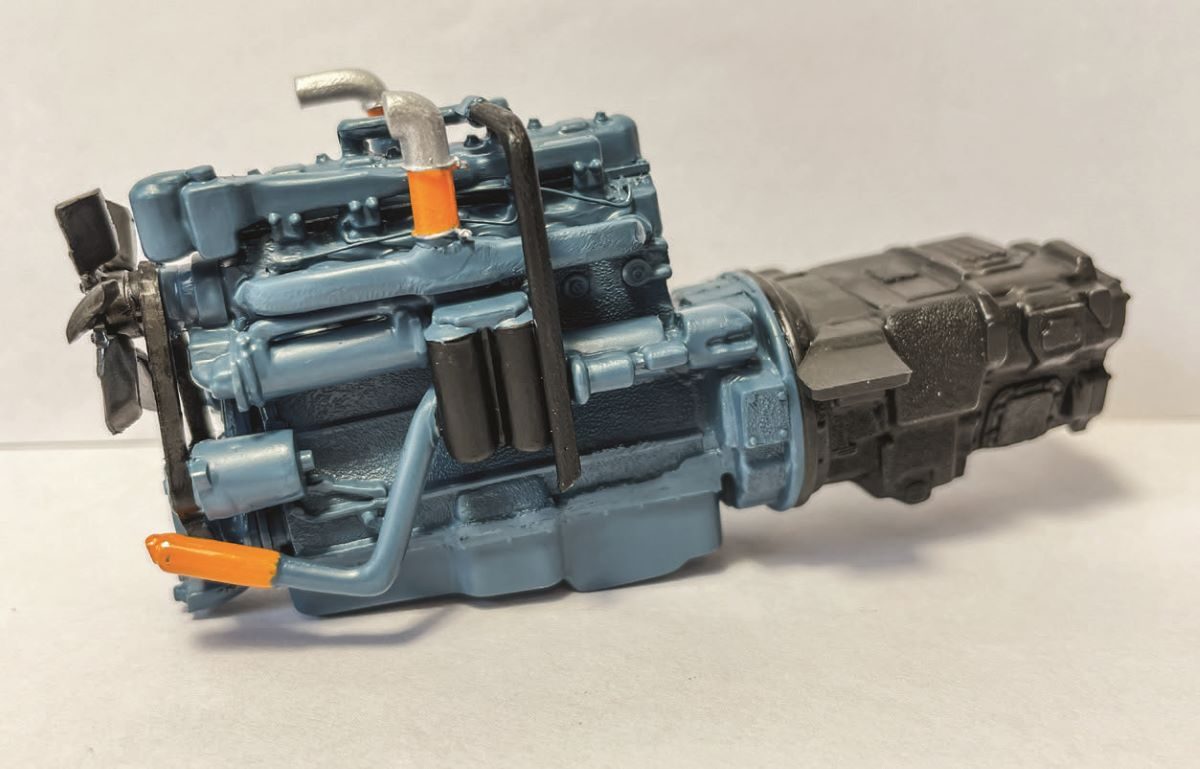
The completed 350hp Mack power plant and matching 12-speed Maxi- Torque gearbox set for installation into the chassis.


